Croissant Bread Pudding

The poll results for what I should blog next……Croissant Bread Pudding…sorry Ben, grits are next I promise.fin2I love bread pudding…..with no raisins:) I love all food without raisins.  I am that girl in restaurants that always asks “does your bread pudding have raisins in it?” Sadly, the answer is usually yes, except in New Orleans. Best response I ever got to my annoying question “no darlin’ we don’t do that down here” I remember my mom and I both squealing with glee, although we may have been drunk…. we were on a culinary cocktail tour after all.

I’ve messed with plenty of bread pudding recipes, most are too sweet and or too dry. This one I’m sharing with you is over the top rich, but moist and nourishing. Tons of eggs, buttery croissants, not too much sugar…..prefect. Could be breakfast with coffee or for dessert, just add a sticky sweet bourbon sauce.

Here is what you’ll need.

  • 3 extra large whole eggs
  • 8 extra large egg yolks
  • 5 cups half n half
  • 1 cup sugar
  • 2 teaspoons real vanilla extract
  • 1/2 teaspoon salt
  • 6 large croissants or 20 mini croissants, chopped in 2 inch chunks

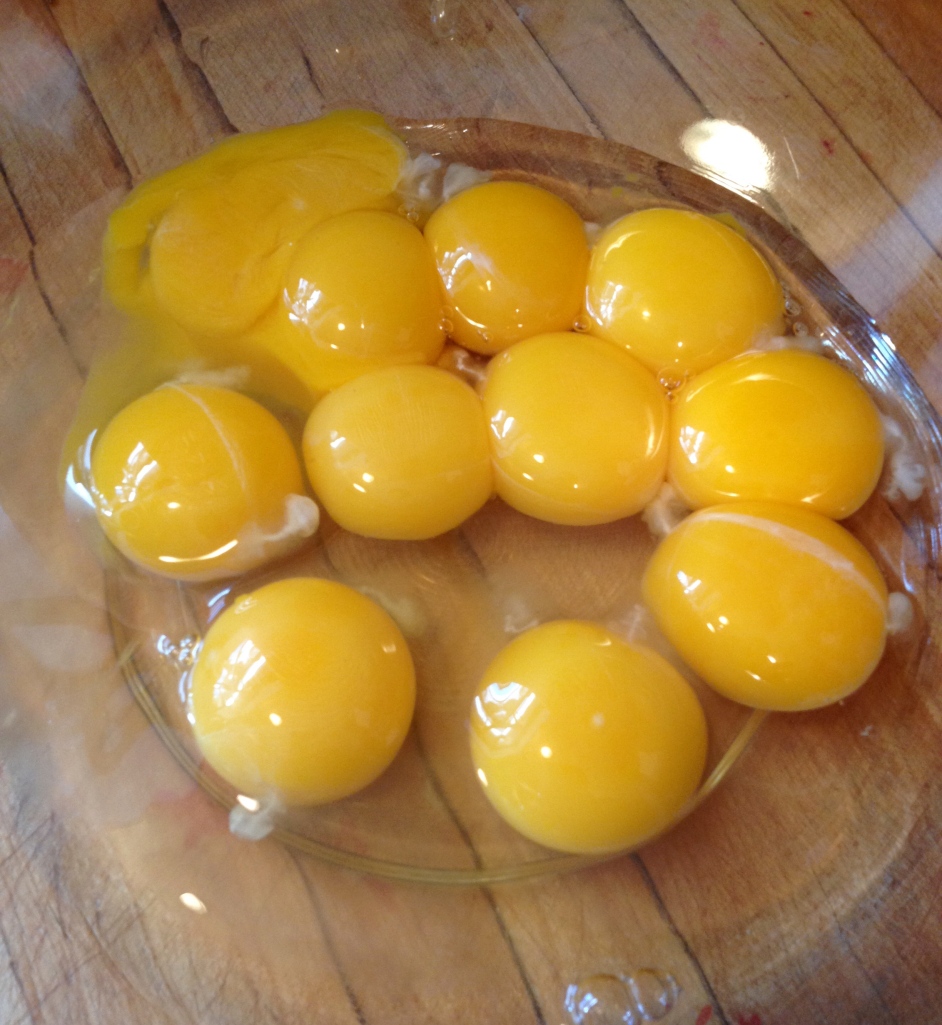
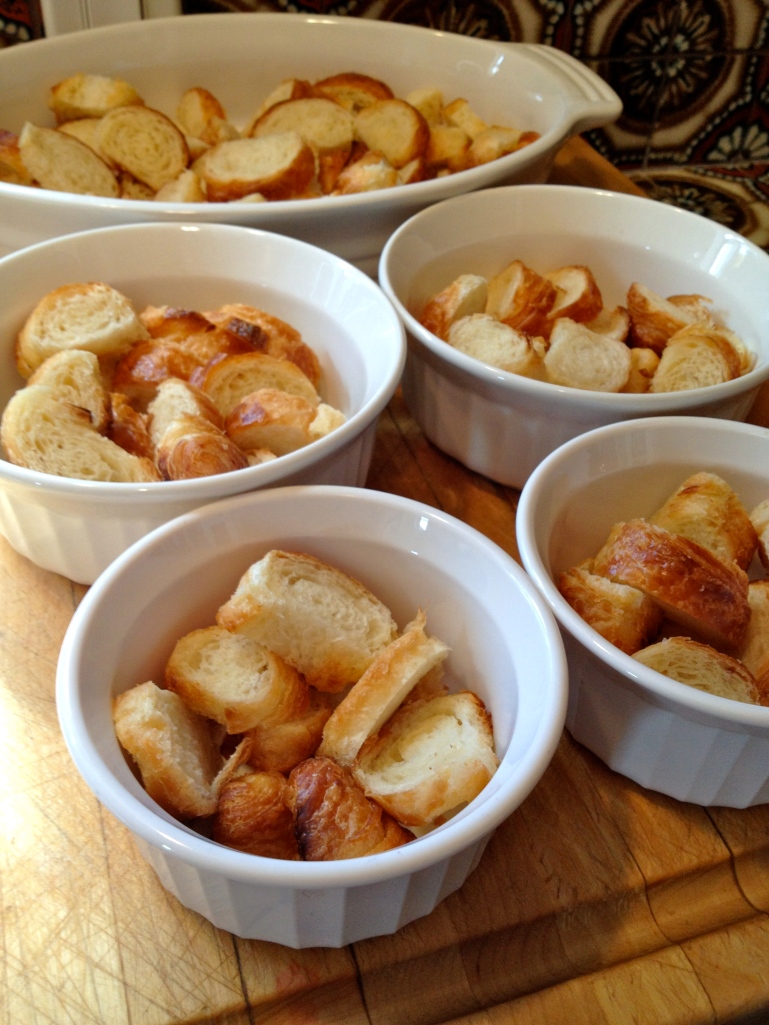
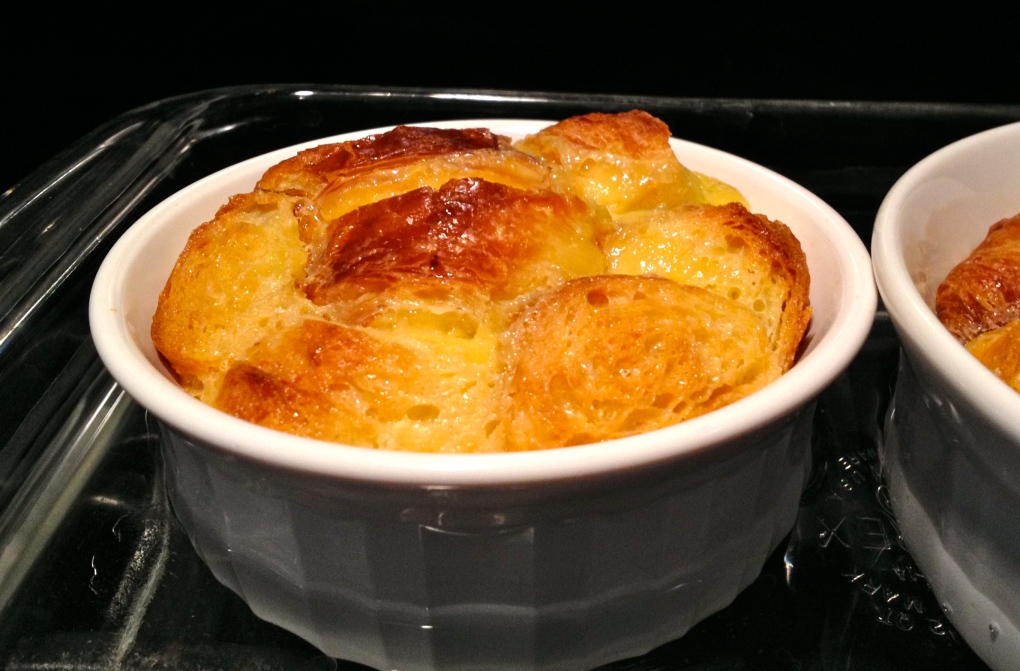
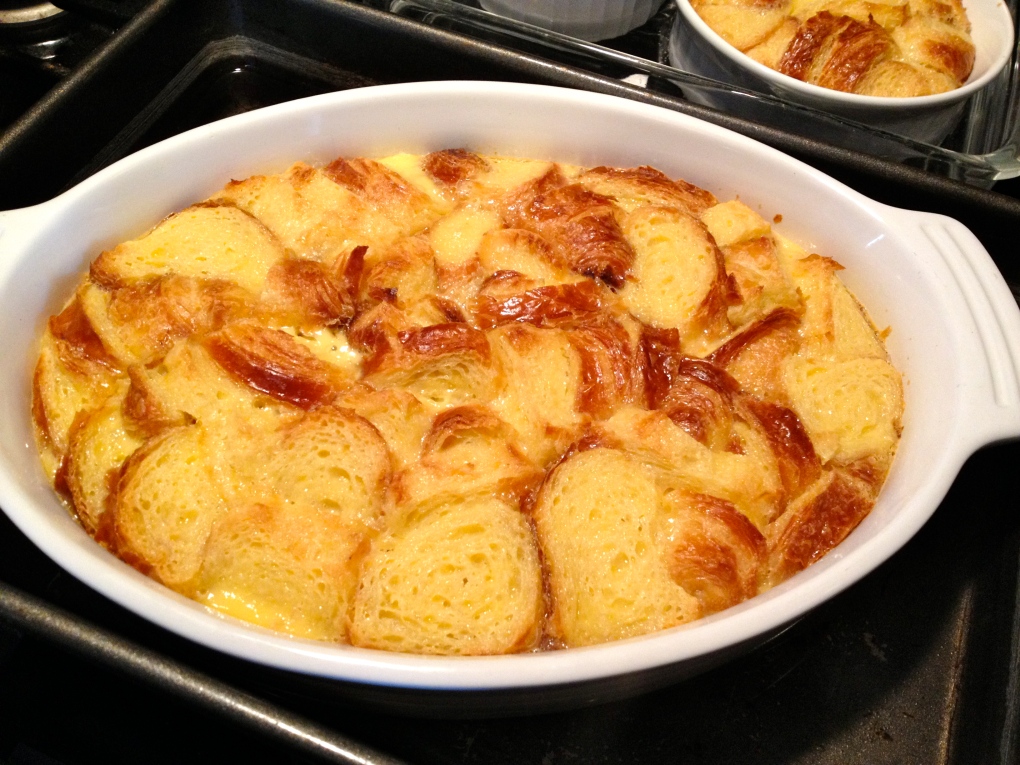
Not everyone has croissants laying around needing to be used up. I bake off tons each morning at work and sometimes they get burned…..yes it happens to all of us. So I trim off the dark bottoms and save them up. This recipe definitely benefits from day old croissants, or two days old…even better. Ready? Pre heat your oven to 375°yolksThis is the 3 whole eggs and and the 8 yolks. If using large eggs add 2 extra yolks.weteggmixadd the half n half, vanilla and salt, whisk until well incorporated. set asidecrosschopChop your croissants (these are the minis I used) larges one chop in cubes.gratinsreadyFill your baking dishes with the chopped croissant. I used one 2 qt casserole dish, two 16 oz ramekins and 2 smaller 7 oz ramekins. Break it down for your needs, one big casserole for a party, lots of minis for take to the office treats.filledsoakFill each baking dish with the egg half n half mixture, let it soak for about 15 minutes, making sure to push the croissants down into the liquid. The mixture will puff up during cooking so do not overfill your baking dishes.bainmarieReady some bain maries or water baths for your ramekins/casseroles. Each one needs to be in a larger baking dish with boiling water added half way up the ramekin. Bake for 45 minutes. The smaller dishes should be done, larger dishes will take another 20 minutes. Bake until the mixture is set and slightly browned in top. fin1Cool and eat slightly warm or chill and eat, tasty both ways. Add some fresh chopped strawberries too. I’d like to share a comment I got on this recipe, “all bread pudding should taste like this” Phil N. Seattle, WA.


Pine Nut Tart

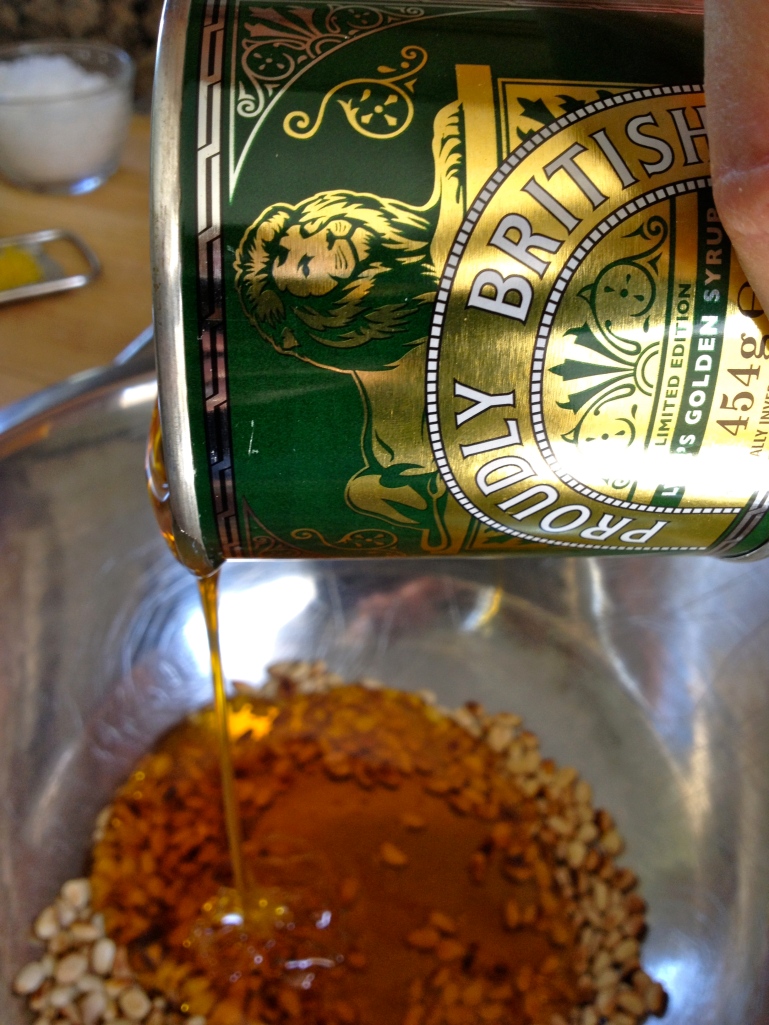
fin2This is April’s take on a treacle tart, a favorite English dessert. The magic ingredient is Lyle’s Golden Syrup…..it’s Happy and Glorious, says so right on the can…love it.LylesWhen I started this project, I had a crazy list of items to be on the lookout for, things not normally found in American grocery stores. Lyle’s was on that list of course. My girl LoLo found me some and I scored some up in Seattle. Fun story about trying to get “a liquid filled cylindrical can” through security…totally spaced that it was in my carry on. It took about 5 “bosses” to realize that it was just a can of sugar, they were kind about it…thankfully.

Here is what you will need

Crust is same one used for the Banoffee Pie, click here to see it again. Bake the tart shell in a 9″ fluted tart pan with parchment paper and pie weights or dried beans for 15 to 25 minutes or until light golden brown in a 350° oven.  No need to bake further after weights are removed.

Filling

1/2 cup of pine nuts

2 large eggs, lightly beaten

1/4 cup coarse bread crumbs, I cheated and used panko

one 454 gram can Lyle’s Golden Syrup

2 tablespoons heavy cream

finely grated zest of 4 large lemons

1/4 cup fino sherry, I used whatever sherry I had in the cupboard

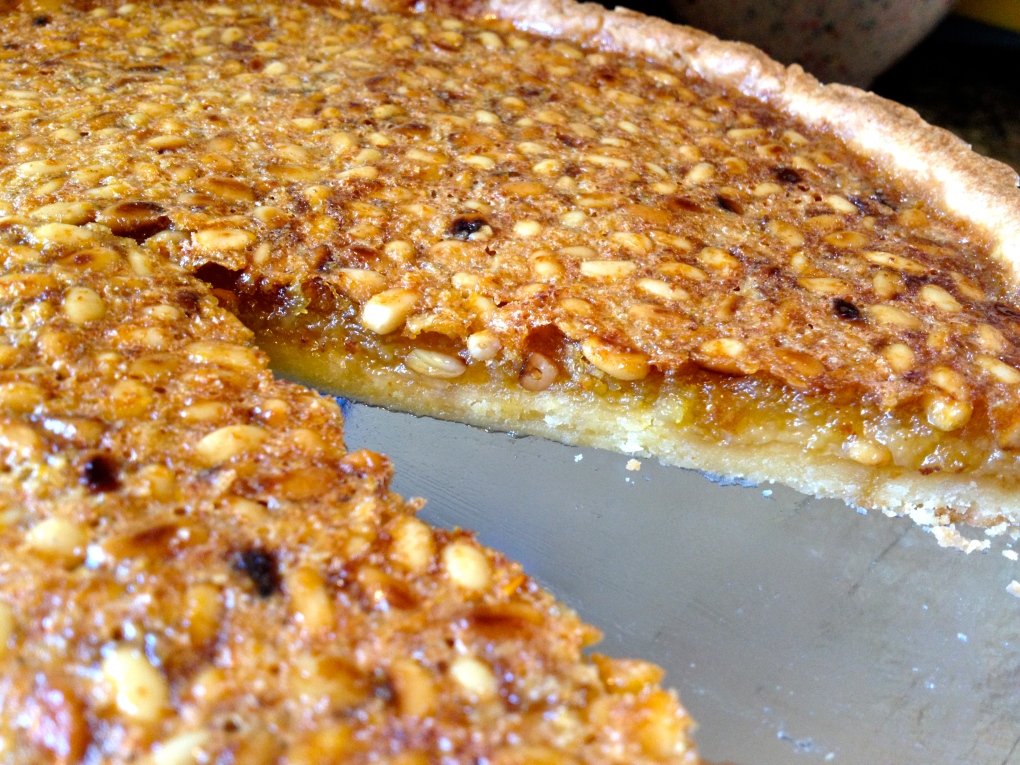
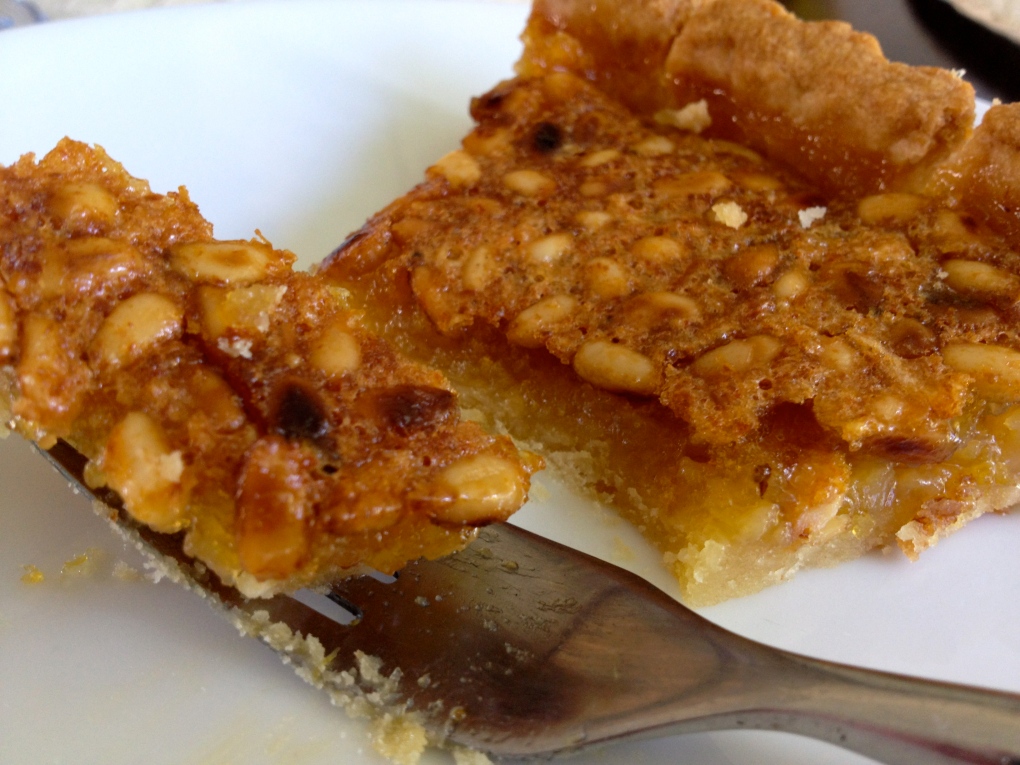
1/2 teaspoon Maldon salttartfixinsToast the pine nuts in a small saute pan.toastnutsUntil golden browned edges appear, careful these toast up fast. Do not walk away from them. Transfer to a medium mixing bowl and let them cool. syrupAdd the remaining filling ingredients and whisk until really combined. zestnutsbeforeRight before you pour the filling into the shell, stir it up and pour in evenly. Bake at 350° for 25 to 35 minutes or until center is slightly jiggly. afterLet it cool a bit then slice and enjoy. Serve with vanilla ice cream, clotted cream or whoop cream aka whipped cream.yumbite

The mix of the lemon zest with the sherry and the sweet of the syrup and the soft richness of the pine nuts is glorious and it will make you happy…..just like the Lyle’s can says.


Banoffee Pie

Recipe 6 of 103

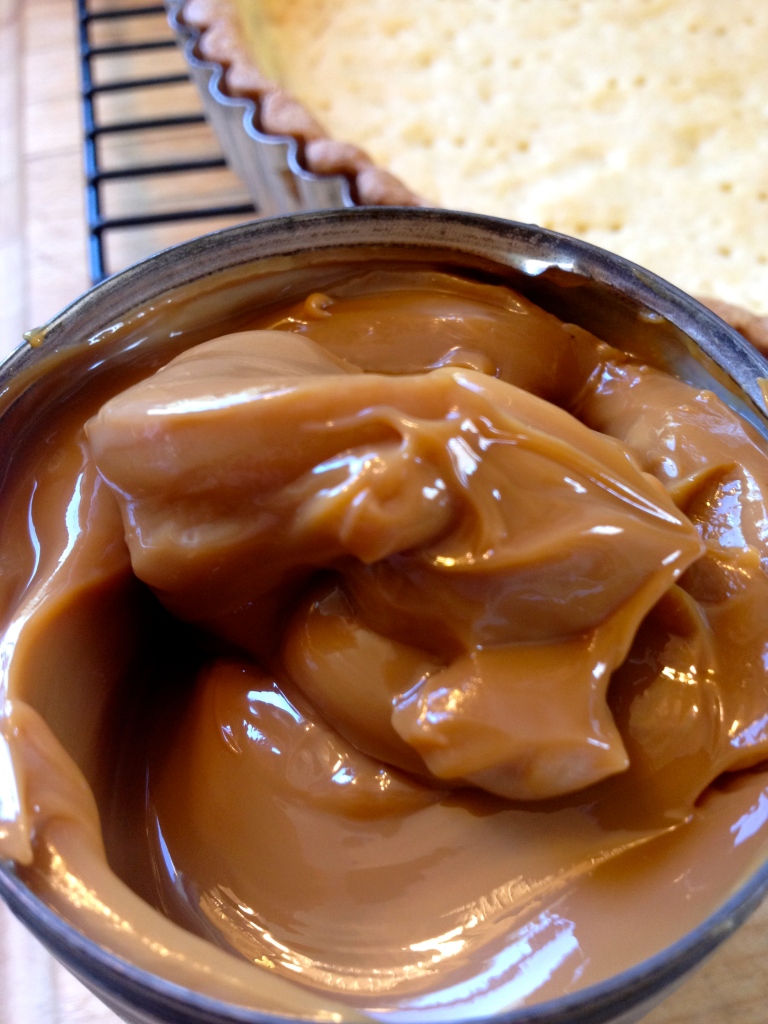
Banoffee Pie? New to me, how about you? It’s creation dates back to an English Pub called the Hungry Monk in the 1970’s in East Sussex. As I read the recipe I stopped at “caramelized milk” and I had a wtf moment. I read further and all I could think was, this is starting to sound white trash in a way and I love it! Caramelized milk is sweetened condensed milk in a can that has been boiled for 4 hours. I have never been a fan of sweetened condensed milk (aka SCM cause I’m tired of typing it), it reminds me of all those overly sweet dessert bars that were huge when I was a kid, if I see SCM in a recipe, I move on to something else. Admittedly I was curious about the process of caramelizing in the can, so I let my snobbery go and I dove into this recipe openly. Lets start with the caramelized milk. Boil two 14 ounce cans, labels removed of SCM for 4 hours. Make sure there is always at least 2 inches of water above the top of the cans. Rumor is, if the water gets below the top of the can they can explode. I didn’t want to test the rumor so I obeyed April’s advice, checking the water every 20 minutes or so.caramelmilk1This is what it looks like when its donecaramelmilk2

Still super sweet but it takes on a deeper caramel flavor. You could put this on all sorts of dessert items. Or just eat spoonfuls right out the can in the middle of the night….Jim!

On to the crust, here is what you will need.

1 1/2 cups AP flour

1/2 powdered sugar

1 stick unsalted butter chilled and cubed

1/4 teaspoon salt

2 large egg yolks

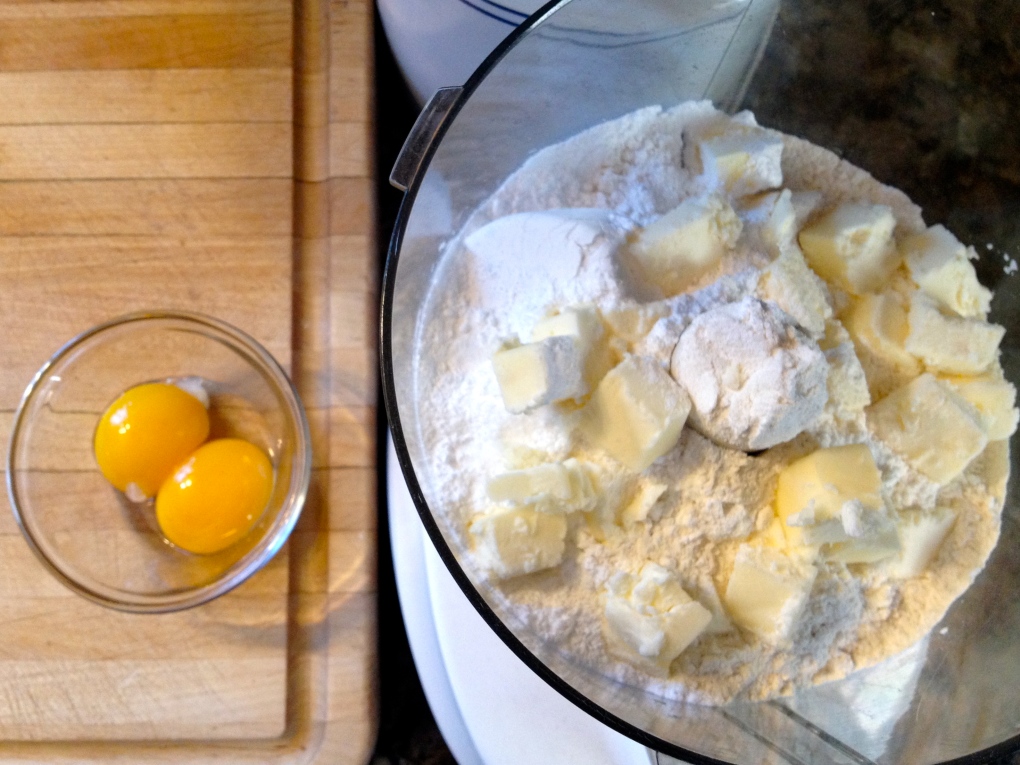
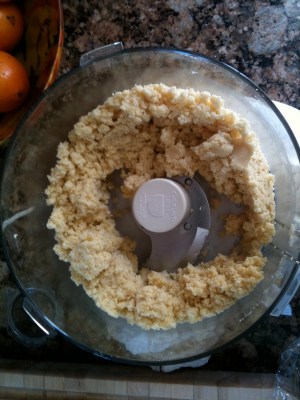
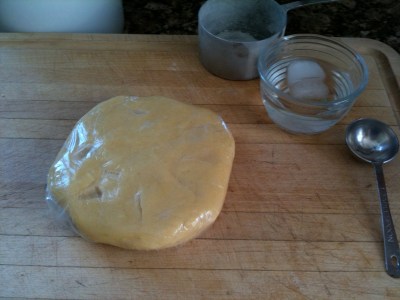
crust1Pulse in a food processor the flour, salt, sugar and butter until the mixture resembles bread crumbs, add the egg yolks, pulse until it looks like a crumbly dough. Pour onto your work surface and form into a ball, wrap in plastic and chill for at least 2 hours. crust2

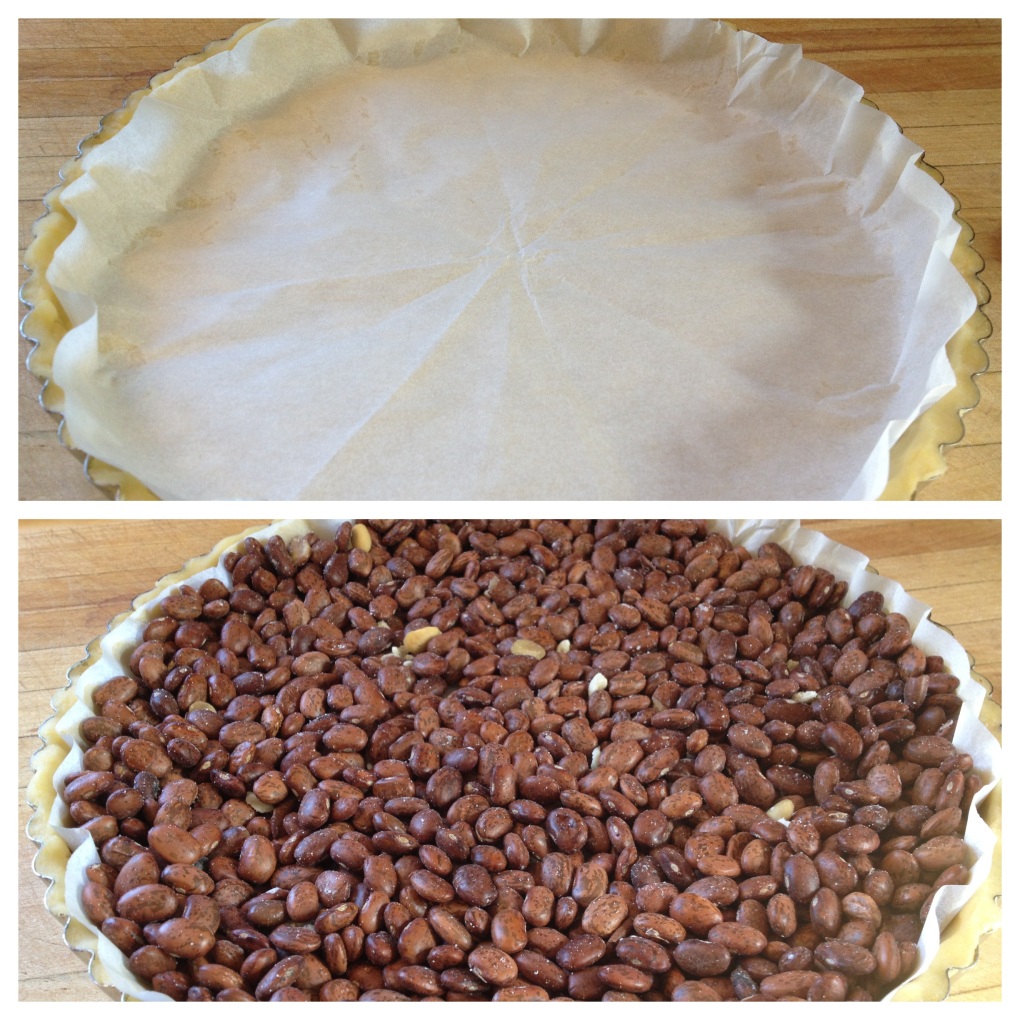
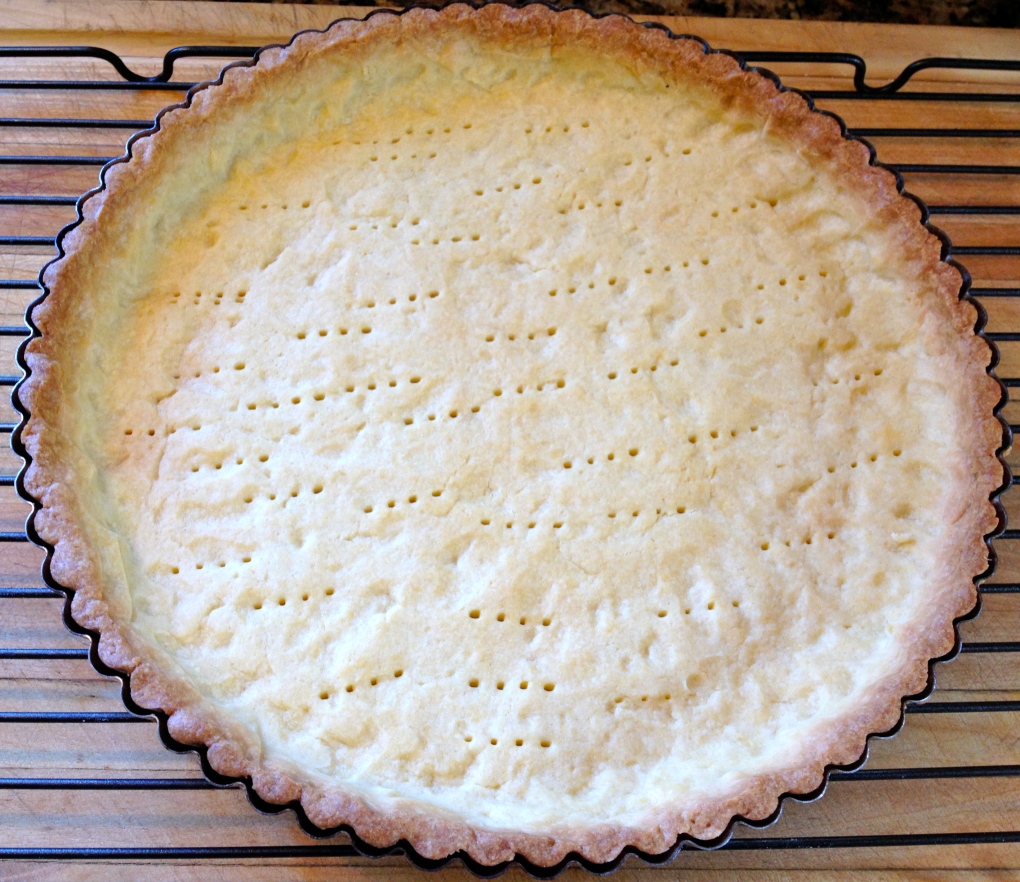
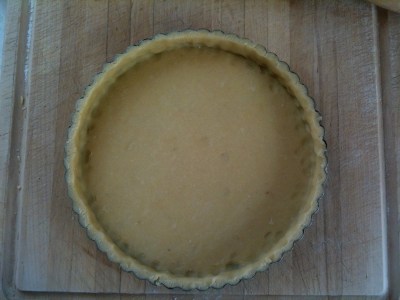
This dough came together instantly, very easy to work with. Do not knead it to death, just ball it up into a disc, done. OK ready for the cool part? April grates her dough like cheese!! Brilliant! I love her method for this, no rolling out dough, yippee!crust3Cut your chilled dough into a few chunks and grate like cheese, press the grated dough into a fluted 10″ tart  pan with a removable bottom. Work quickly, you don’t want your warm hands to soften the dough too much. If it does get a bit warm while you’re working, let it rest in the fridge to cool down again. Prick the dough with a fork after you’ve got it all pressed into the tart shell.crust4Line your dough with a circle of parchment paper and fill with pie weights or dried beans and bake for 15 minutes at 350°, when edges are golden, remove beans and paper and bake for another 15 minutes until golden brown all over. Let crust coolcrustdoneLets assemble this pie. Here is what you will need.

8 to 10 small bananas

2 cans of caramelized milk

2 cups of chilled heavy cream

3 tablespoons of powdered sugar

1 vanilla bean split lengthwise

3 tablespoons grated dark chocolate

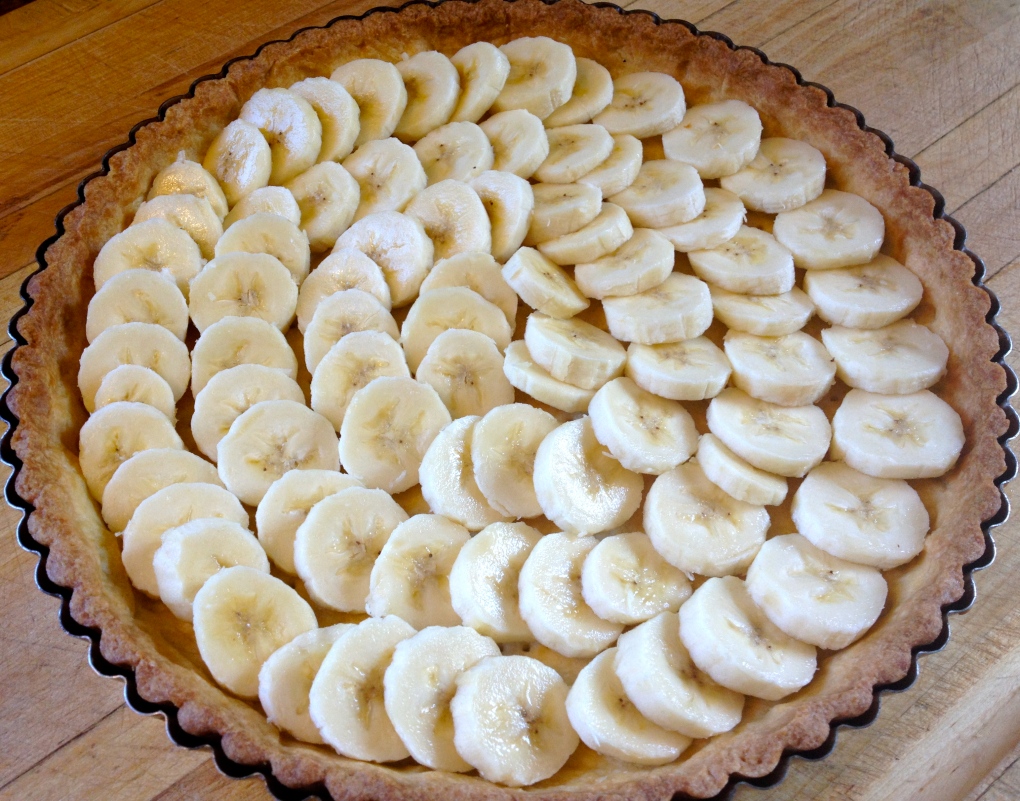
Grab your perfectly baked and cooled tart shell, layer the bottom with sliced bananas like this.banana

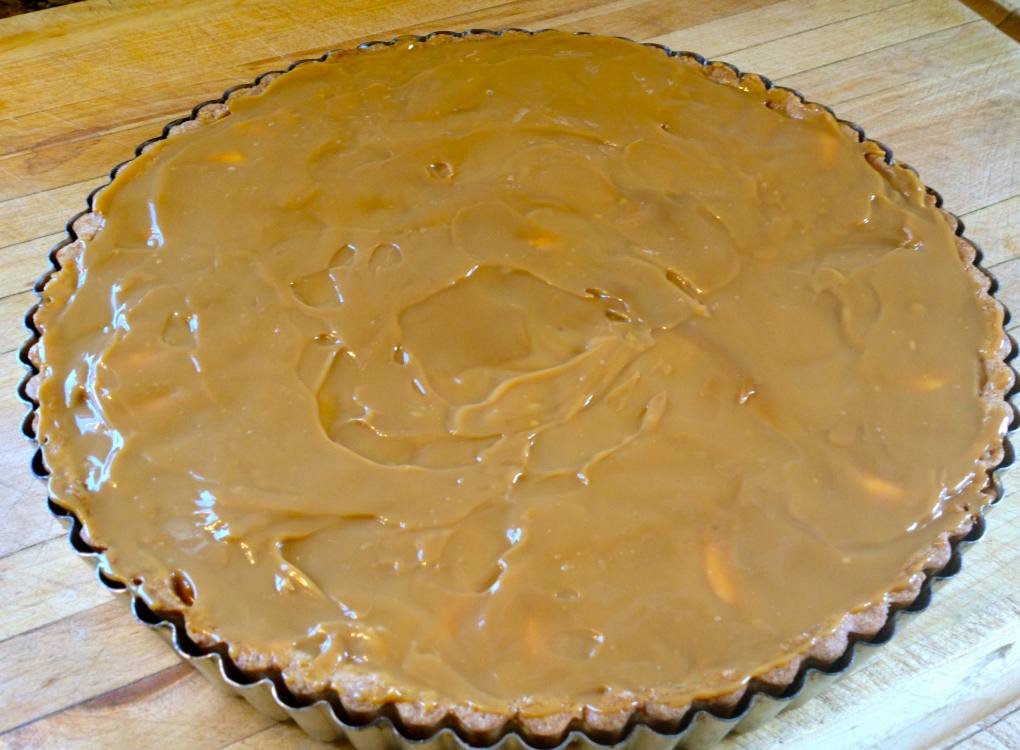
Add spoonfuls of the caramelized milkcaramelSpread the caramelized milk so it covers all the bananas like this, an offset spatula is the tool for this, get one.chillreadyAt this point chill the pie for at least 2 hours. April said to cover with plastic wrap, I did as she said and it stuck to the caramel and was a tragic mess trying to get it off the pie. Make your own call on this step.

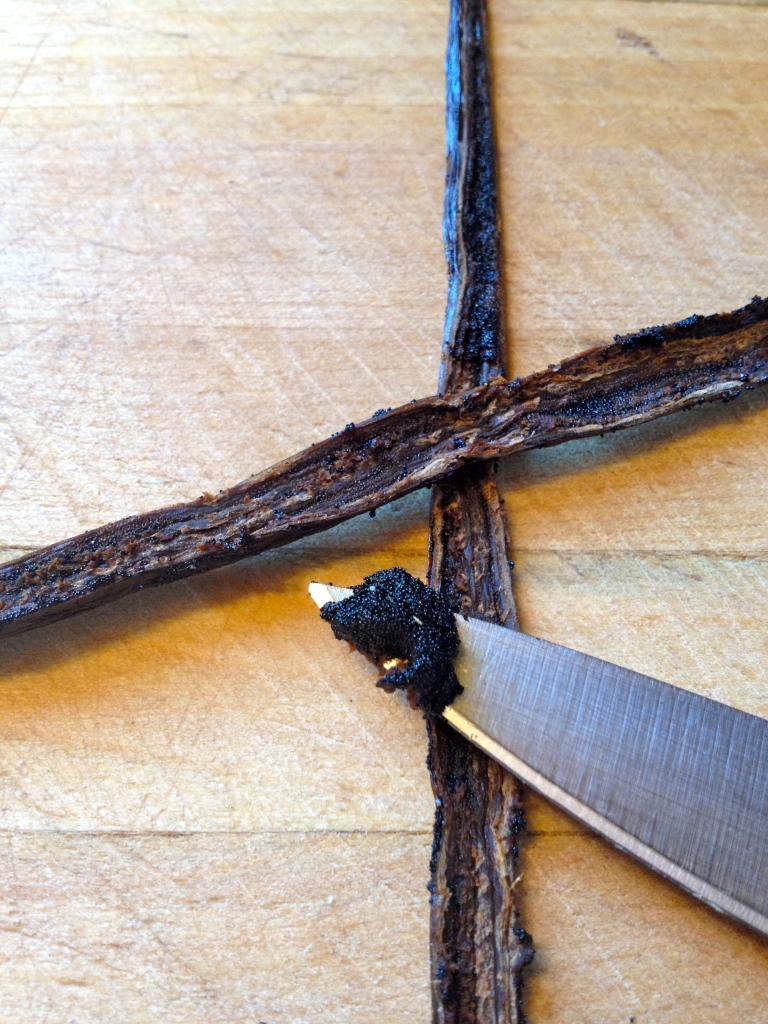
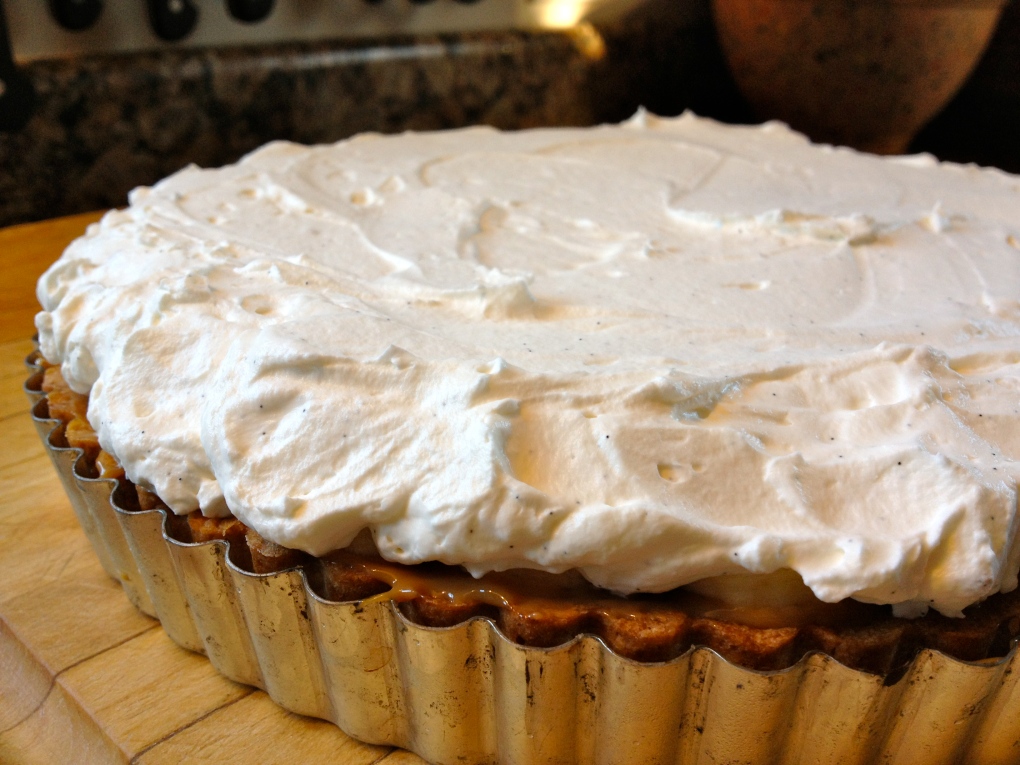
Now on to the whoop cream! Yes I said whoop, get over it. Split your vanilla bean lengthwise and scrape out the vanilla caviar.vanillacaviarWhip the heavy cream, vanilla bean caviar and powdered sugar in a stand mixer. Whip until you have stiff peaks but not butter. whoopChill the whoop and spread another layer of bananas on your chilled piebanana2Top the pie with your freshly whipped creamwhup1Top with grated chocolatedone1Chill, serve chilled, keep chilled.done2So here are my thoughts on this pie. VERY SWEET! The bananas, cream and caramel are divine together and the crust is perfect. I would tweak a few things on the next go around, use less of the caramelized milk, no sugar in the whoop but use twice as much whoop. Maybe even add a layer of grated chocolate over the first layer of bananas? April says this pie would be the dessert for her last meal here on earth. My people loved it, sadly my Mom and Kid didn’t have the chance to try it yet, they are both huge banana cream pie fans, I’m guessing they will love this pie.

Cheers! I’m off to forage for food.


Fennel-Lemon Marmalade

Recipe 1 of 103

James brought these home for me…Meyer Lemons…lots of them. mlemonsI thought to myself…what to do with all these beautiful fragrant luscious lemons. At the time I was reading a girl and her pig, I received the book and the lemons on the same day. These two simple happenings brought me to this project.

Fennel Lemon Marmalade

What you will need.

7 to 8 large thick skinned lemons – wash well

5 1/2 cups sugar

2 teaspoons fennel pollen (find on line or at whole paycheck aka whole foods)

Assemble your clean lemons in a large pot of water, enough water to cover them while they bob around. Cover the lemons with a plate to keep the submerged. I used my deviled egg plate, worked perfectly. boilemon2

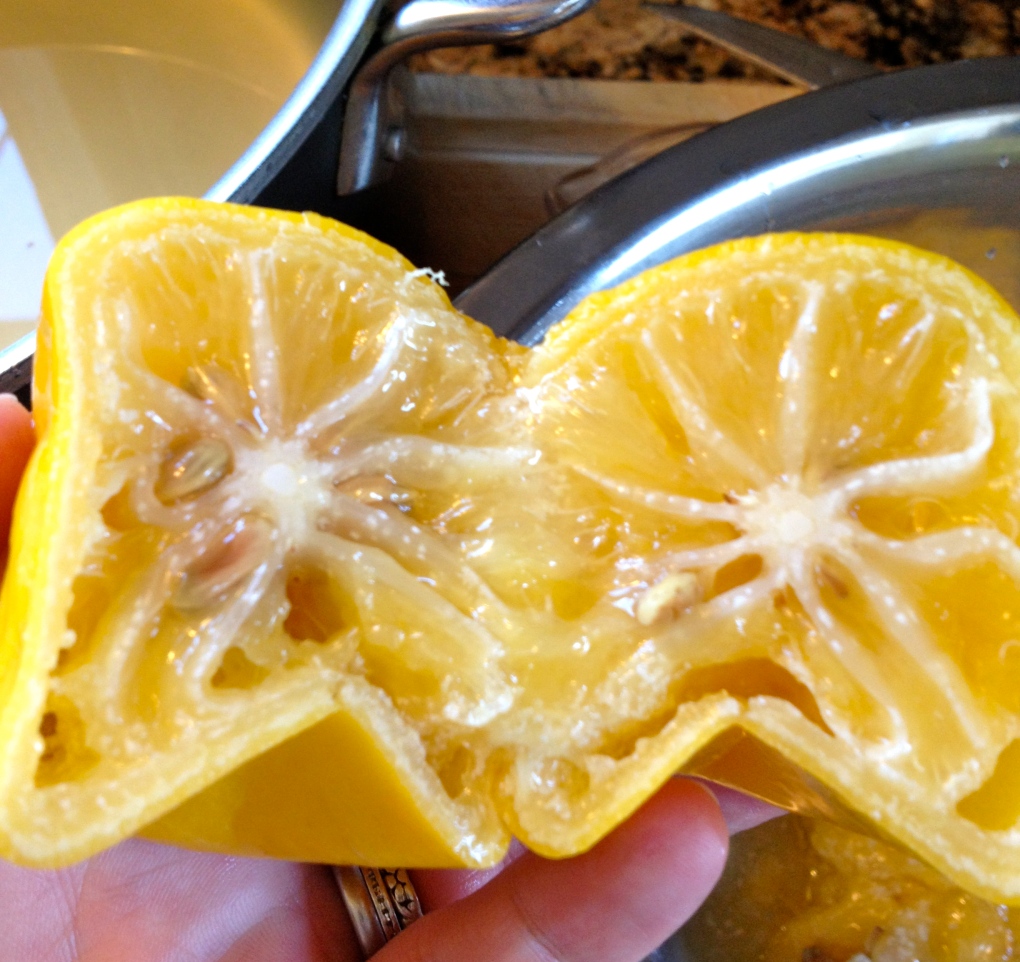
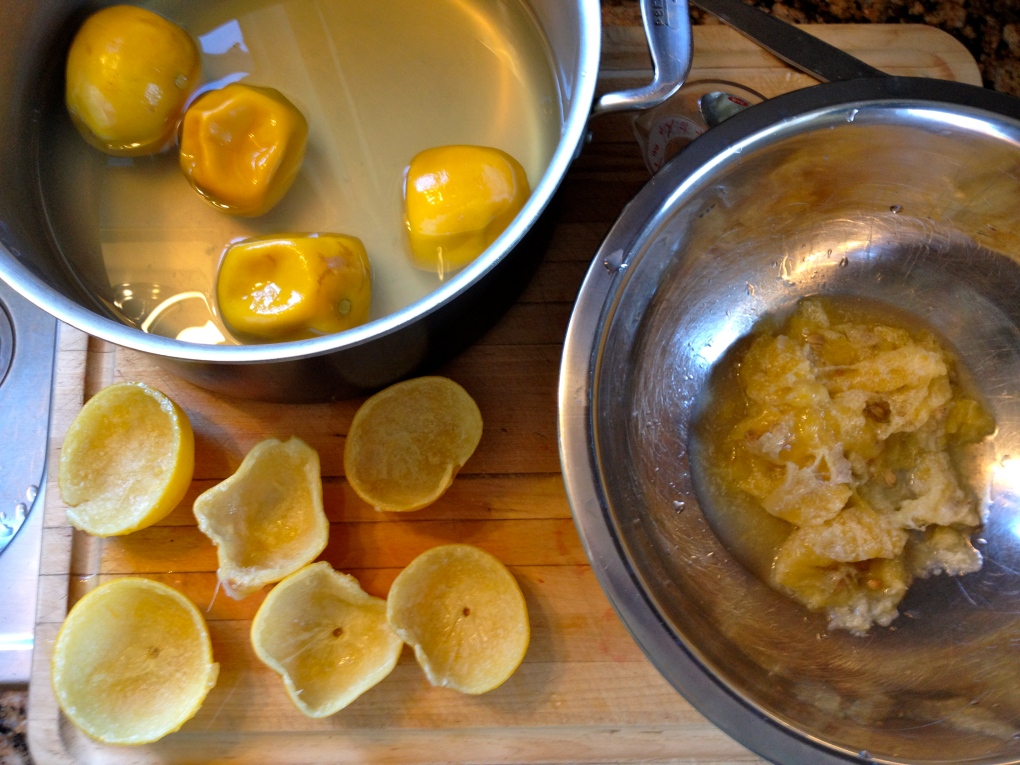
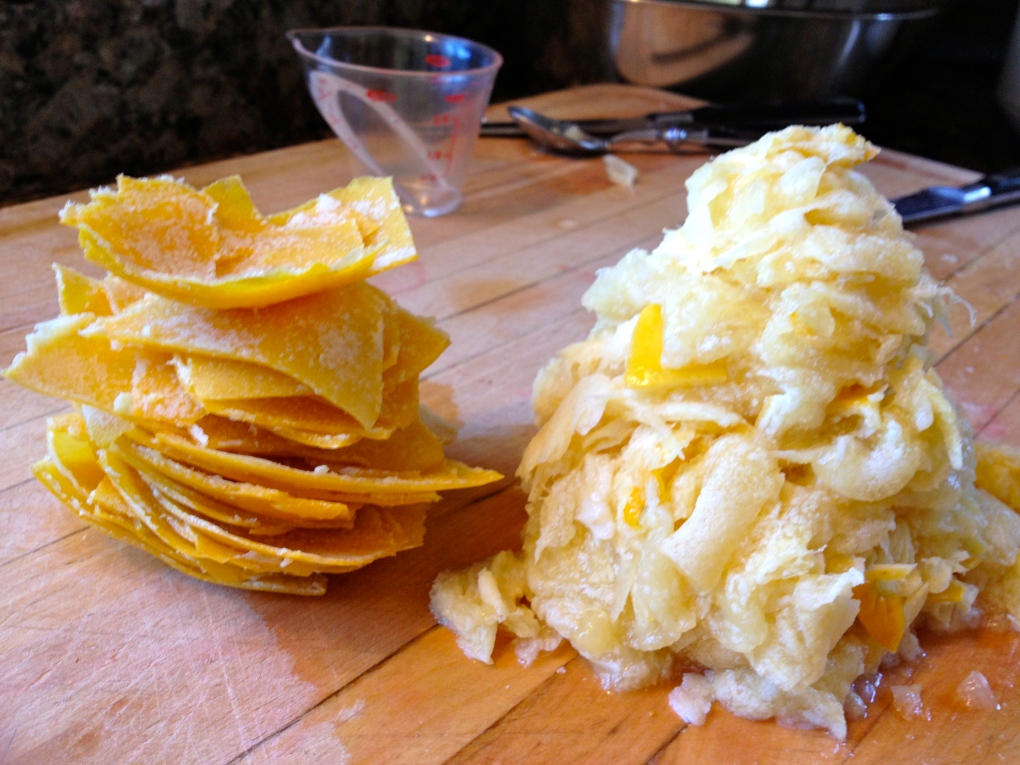
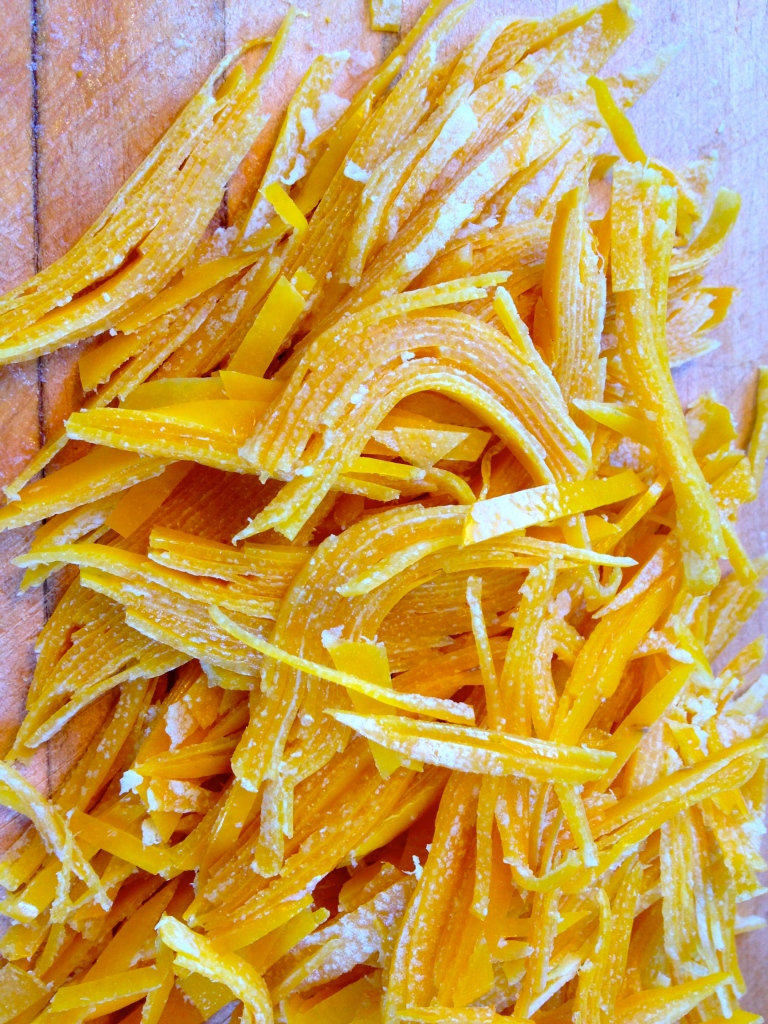
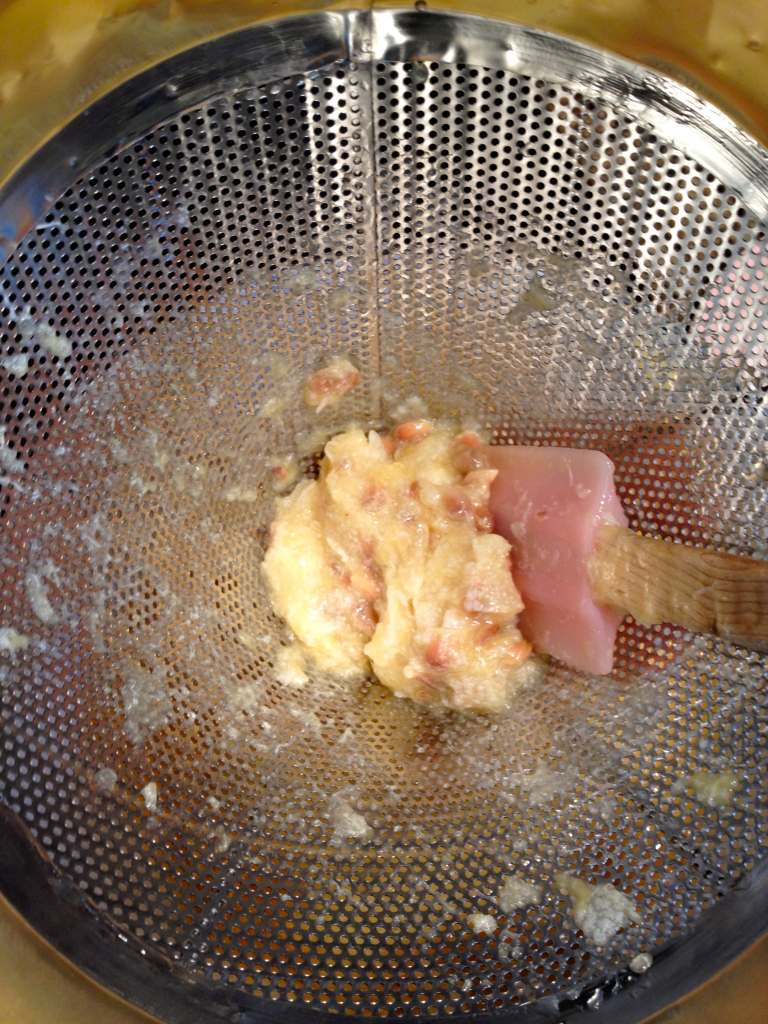
Boil for about an hour, you want them soft but not bursting. Check water as the hour goes to see if it needs replenishing. With a blunt knife, check to see if you can easily pierce them, if so they’re good to go. Reserve 1 1/4 cup of the water. Take them out and let them cool until you can handle them comfortably. Cut them in half, they should look like this. Sorry this photo is blurry.pulp2Scoop out all the flesh into a bowl. pulpCut the rinds into flat pieces and scrape off the white pith.pith2This is the point where I realized the thick skinned lemons would be much easier to work with. The meyer lemon skin is so thin and dainty, it really was like doing surgery, trying not to rip the rind to shreds. More on the final result with meyer lemons later. This step takes awhile be patient – make sure to remove the pith…… pith = bitter. Here is an after shotpith3Julienne the rinds thinly like thisjuliennePlace your expertly sliced rinds in a pale pink Le Creuset ( jk, I know not everyone is lucky enough to own this beautiful piece of cookware, I still squeal with girly glee every time I use it, thanks Jennay ) or a 4 qt sauce pot with reserved water from the boiling of the lemons. Grab a chinois/strainer, you will need a medium mesh chinois/strainer, do not use a fine mesh, you won’t get enough of the pulp through. strainPush the pulp against the side of the chinois to get as much pulp through as possible. You want very little left in the strainer, like this.strain2The sauce pot should have the lemon rinds, reserved lemon water from boiling 1 1/4 cups and all the pulp you could muscle through your chinois. Stir in 5 1/2 cups of sugar (if using   meyer lemons do 5 cups of sugar) over a high heat, when the mixture begins to simmer, set your heat for a low simmer and cook for 1-2 hours, the mixture will darken as it cooks. Starting out like thiscolor1its getting close to donecolor2

to test if the mixture is done, spoon a small amount on to a plate, let it cool. If its sticky and gel like its done, if its loose and runny keep cooking a bit longer.testwhen you nail the consistency, stir in the fennel pollen and let cool. At this point you could process them in jars and they’d keep for up to a year. If you’re going that route I would double the recipe.color3

This recipe will yield about 5 cups. It will keep in the fridge for a month. Slather all over toast and or scones. Add it to your next cheese plate instead of fig jam. The longer it sits the more bloomy it becomes and you can really taste the fennel pollen. I used it as a layer in some shortcakes with fresh strawberries on top. OMG it was so good. I have gifted a few friends with this lovely marmalade, hopefully they’ll comment and share their thoughts on it. This was my first adventure into Marmalade, there are several different methods on making it, I found April’s easy and the outcome was divine. I’ve made it with both meyer lemons and regular thick skinned lemons. The flavor is much sweeter and mild with meyer lemons, both were great tasting, if you want more of a tart twang use the regular lemons.

Try it and let me what you think.


Gluten Free Peanut Butter Rice Crispy Treats

Here is a re do on a classic kid dessert that I never really could get my head around. The classic Rice Krispie treat was always so sweet it would hurt your teeth to eat it…that’s not cool. Again in my search for gluten-free recipes I found this recipe….right next to the flax coconut pancakes in Food and Wine magazine of all places. This was an article by Elisabeth Prueitt, pastry chef at Tartine and Bar Tartine in San Francisco. Instead of margarine or butter, how about coconut oil…YES!
Recipe makes 24 squares

3 tablespoons coconut oil

1 10 oz bag of marshmallows – use vegan marshmallows if that’s your thing

3/4 cup creamy peanut butter – use a really good one

7 ounces of brown rice crispy cereal (6 cups), which is naturally gluten-free.

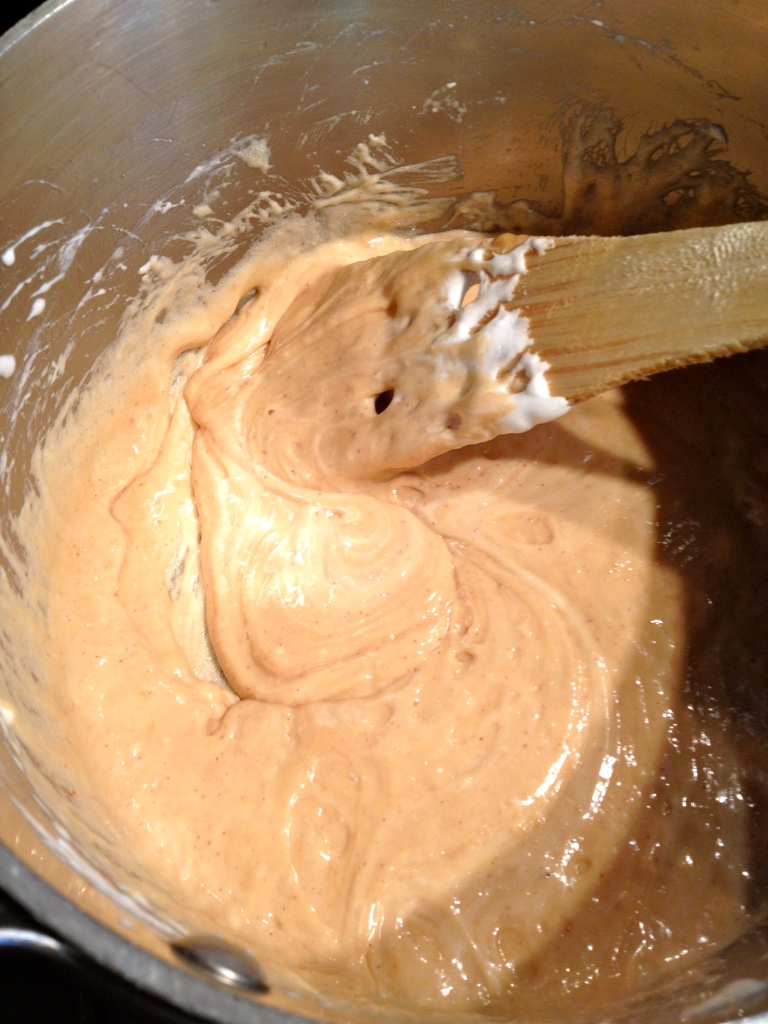
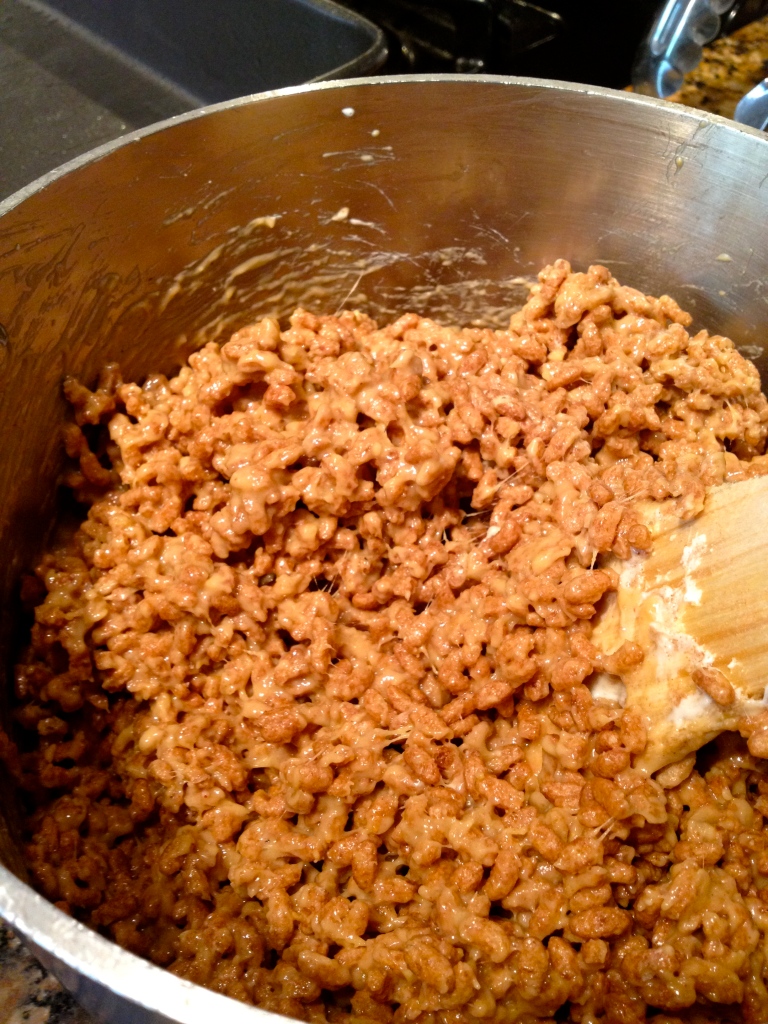
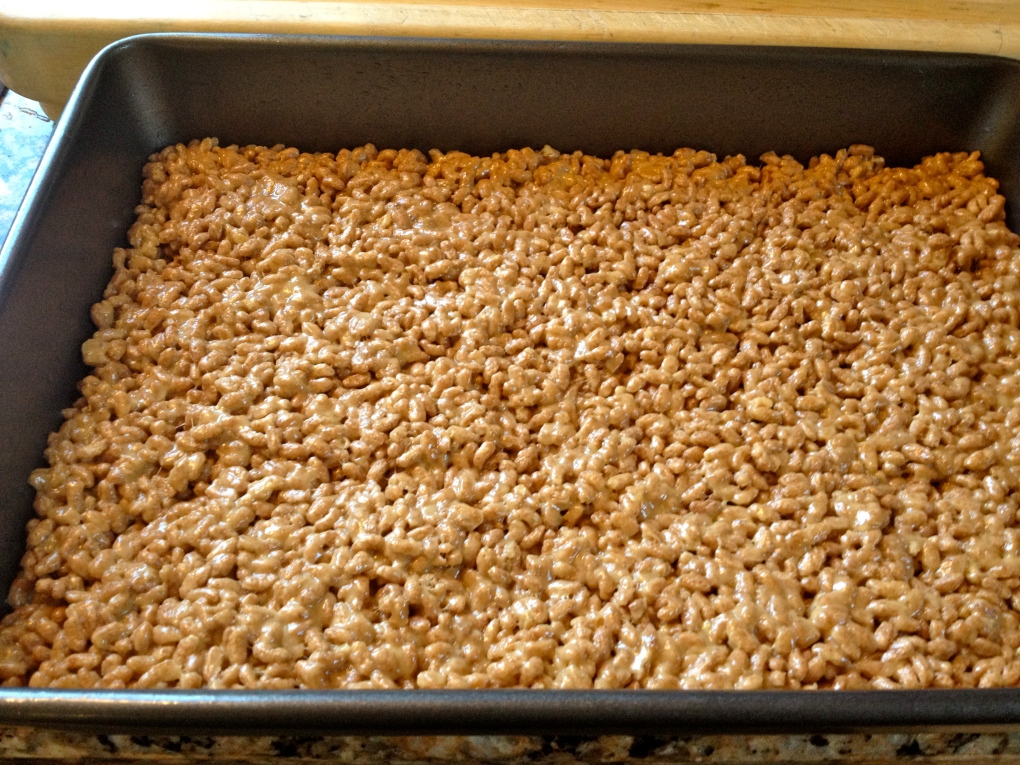
Lightly grease a 9 x 13 pan with coconut oil. In a large sauce pot, melt 3 tablespoons of coconut oil. Add marshmallows and cook over low heat until melted, stirring constantly. Add peanut butter and stir until incorporated.Remove the pot from the heat and add the rice crispy cereal and stir to mix thoroughly.Quickly scrape the mixture into the greased pan and pat the mixture down with slightly wet hands to form the mix.Cool and cut into squares….a treat you can feel good about eating and giving to your kids and they taste GREAT! These will keep for a week in the fridge, best served at room temp. 


Brown Butter Pumpkin Cupcakes

Look at these lovely little morsels of YUM! I discovered this recipe last year in the magazine Fine Cooking, it was a fall issue and I love pumpkin, I mean really LOVE pumpkin, so I made it.

First try…. totally blew my mind they were so good.

Made it for a few gatherings last holiday season and all in attendance were equally blown away.

I’ve tweaked a few things here and there, so this is my version. I used less sugar and kefir to replace buttermilk, I think kefir gives them better tanginess. Click here for a printable recipe from the Fine Cooking website, since I don’t have that figured out yet for my site. Last year I made a layer cake, this year I did cupcakes and a layer cake. There are several steps that can be done ahead which I  seriously advise you do, this recipe takes some time but it’s oh so worth it.

First off let’s talk pumpkin…. most people go and get the canned stuff, this time of year it’s being shoved down our throats at every grocery store we enter. But so are fresh pumpkins, most will get carved up to look spooky then sit on our porches and rot. Don’t get me wrong spooky scary pumpkins are cool but why not get an extra one – bake it, peel it, puree it and enjoy the difference in using fresh pumpkin you baked, peeled and pureed……it really makes a difference in taste.

Now let’s talk about brown butter……. butter is awesome – we all know that – but brown butter is OMG…..rich, nutty and amazing! This is the kicker to this recipe.

K ready?, let’s do this!

recipe yields one 2 layer cake or 24 cupcakes

For the pumpkin purée

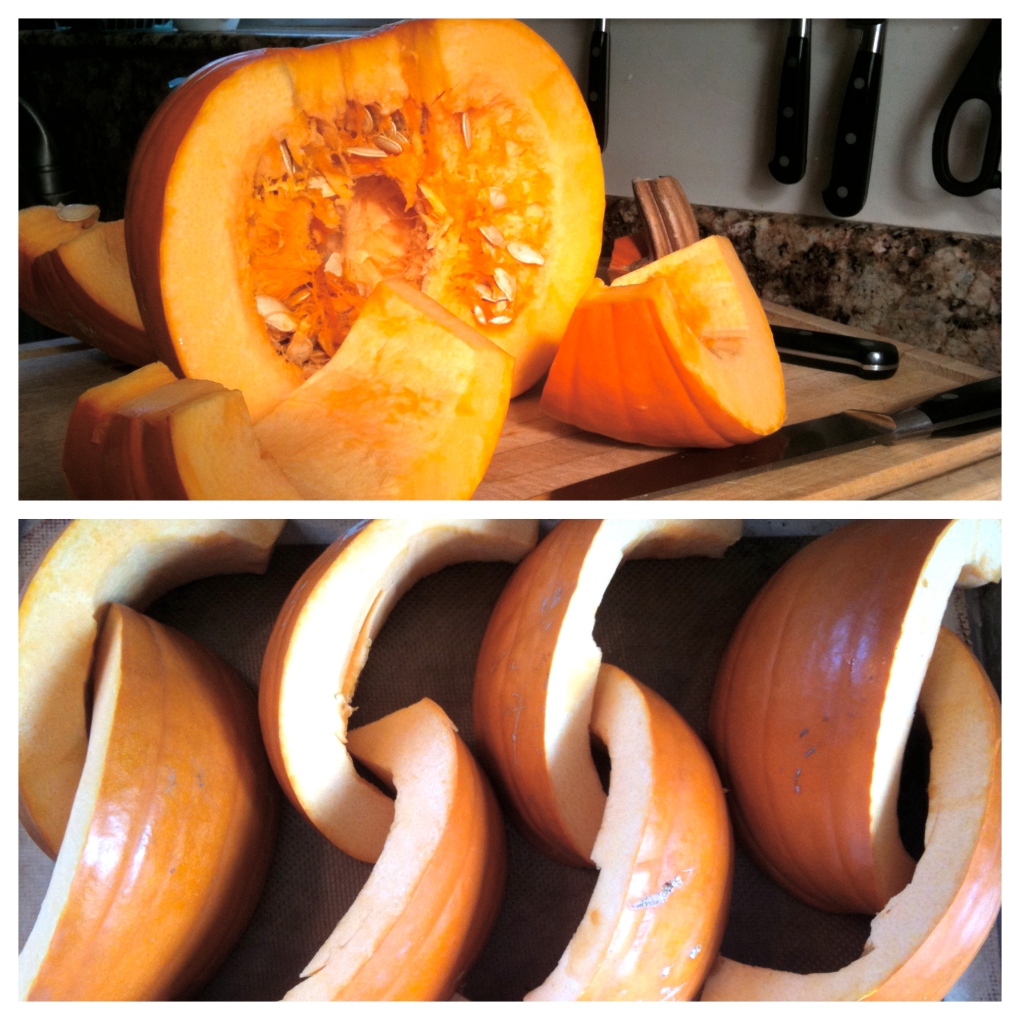
1 medium-large pumpkin, cut in half or in quarters, clean and remove seeds, reserve the seeds to roast up with some spices for a yummy snack. My pumpkin weighed about 6 pounds,  yield was  7 cups of puree, woo hoo!!
Make the pumpkin purée

Position a rack in the center of the oven and heat the oven to 350°F. Line a baking sheet with a silpat or parchment paper. Put the pumpkin halves/quarters on the baking sheet cut side down and bake until tender when pierced with a fork, about 45-60 minutes. Let cool. Peel the pumpkin and purée the flesh in a food processor (or a bad a** blender like my new one) until very smooth. You’ll need 1-1/2 cups of the purée for this recipe. Refrigerate or portion and freeze any remaining purée for future use, like pies, soups, cookies…..so excited I love hoarding yummy food. 

For the cake or cupcakes

6 oz. (3/4 cup) unsalted butter; more for the pans

9 oz. (2 cups) unbleached all-purpose flour; more for the pans

1-1/2 tsp. baking soda

1-1/2 tsp. ground cinnamon

1 tsp. ground ginger

3/4 tsp. table salt

1/4 tsp. ground cloves

1-1/4 cups granulated sugar

2/3 cup firmly packed light brown sugar

2 large eggs

1-1/2 cup fresh pumpkin puree or canned

1/3 cup kefir or buttermilk

Make the cake or cupcakes

Position a rack in the center of the oven and heat the oven to 350°F.

 Butter and flour two 9-inch round cake pans with removable bottoms (or butter two 9-inch round cake pans, line the bottoms with parchment, butter the parchment, and flour the pans).

Or line a muffin pan with cupcake papers or make your own with a 5″ square of parchment paper. Use a glass to help mold the paper into each section of the muffin pan.Melt the butter in a heavy-duty 1-quart saucepan over medium heat. Cook, swirling the pan occasionally until the butter turns a nutty golden-brown, about 4 minutes. Watch this closely, butter will burn really fast. Pour into a small bowl and let stand until cool but not set, about 15 minutes.

In a medium bowl, whisk the flour, baking soda, cinnamon, ginger, salt, and cloves. In a large bowl, whisk 1-1/2 cups of the pumpkin purée with the granulated sugar, brown sugar, eggs, and kefir or buttermilk until very well blended. With a rubber spatula, stir in the flour mixture until just combined. You could do all this in a stand mixer on low speeds so to not over mix.

Gently whisk in the brown butter until completely incorporated. Divide the batter evenly between 2 prepared round cake pans or a prepared muffin pan.
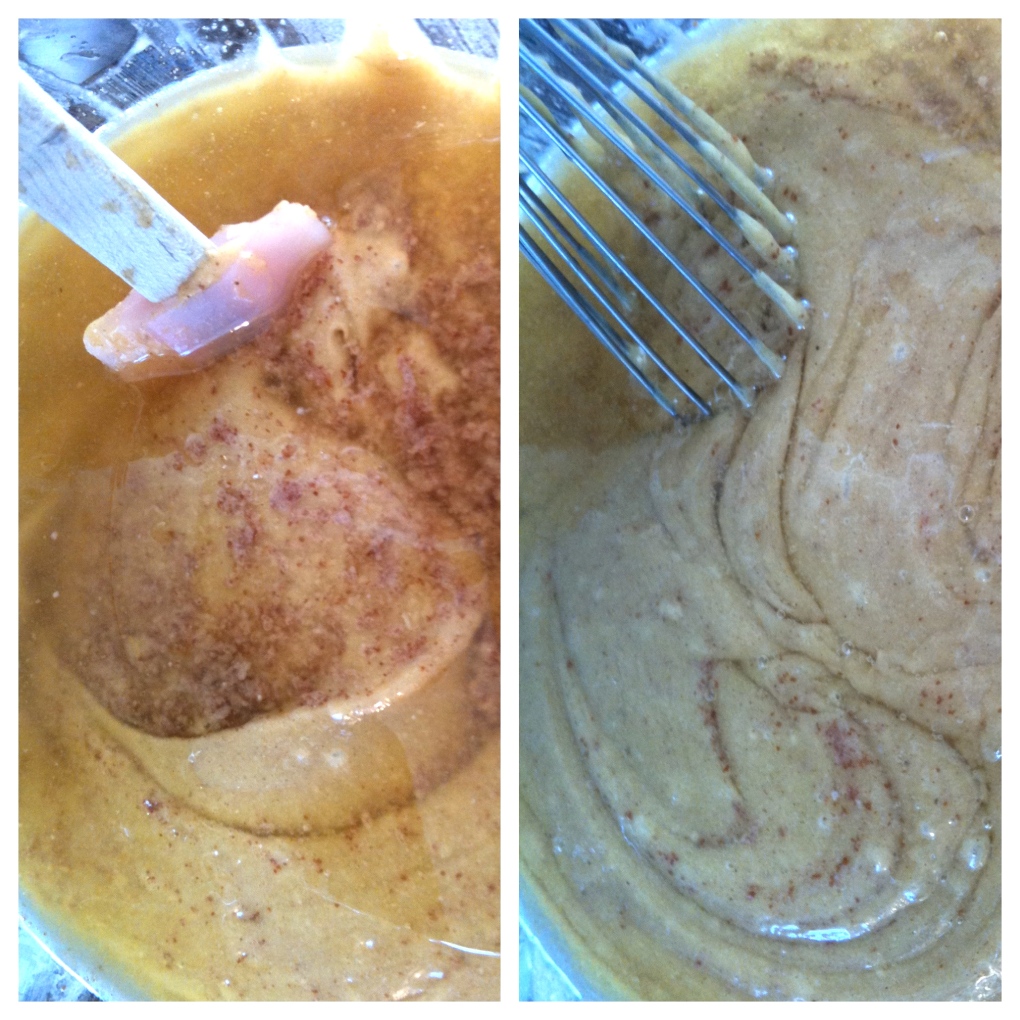
 Bake the cakes until a toothpick inserted in the center comes out clean, about 28 minutes, cupcakes bake for 15-18 minutes. Let the cakes cool in the pans for 10 minutes. Turn the cakes out onto racks, remove the pan bottoms or parchment, and cool completely.

For the topping

1-1/2 Tbs. unsalted butter

2/3 cup pecans

1/2 cup unsalted, raw, hulled pepitas

2 Tbs. firmly packed light brown sugar

1/4 tsp. table salt

1-1/2 Tbs. chopped crystallized ginger

Make the topping

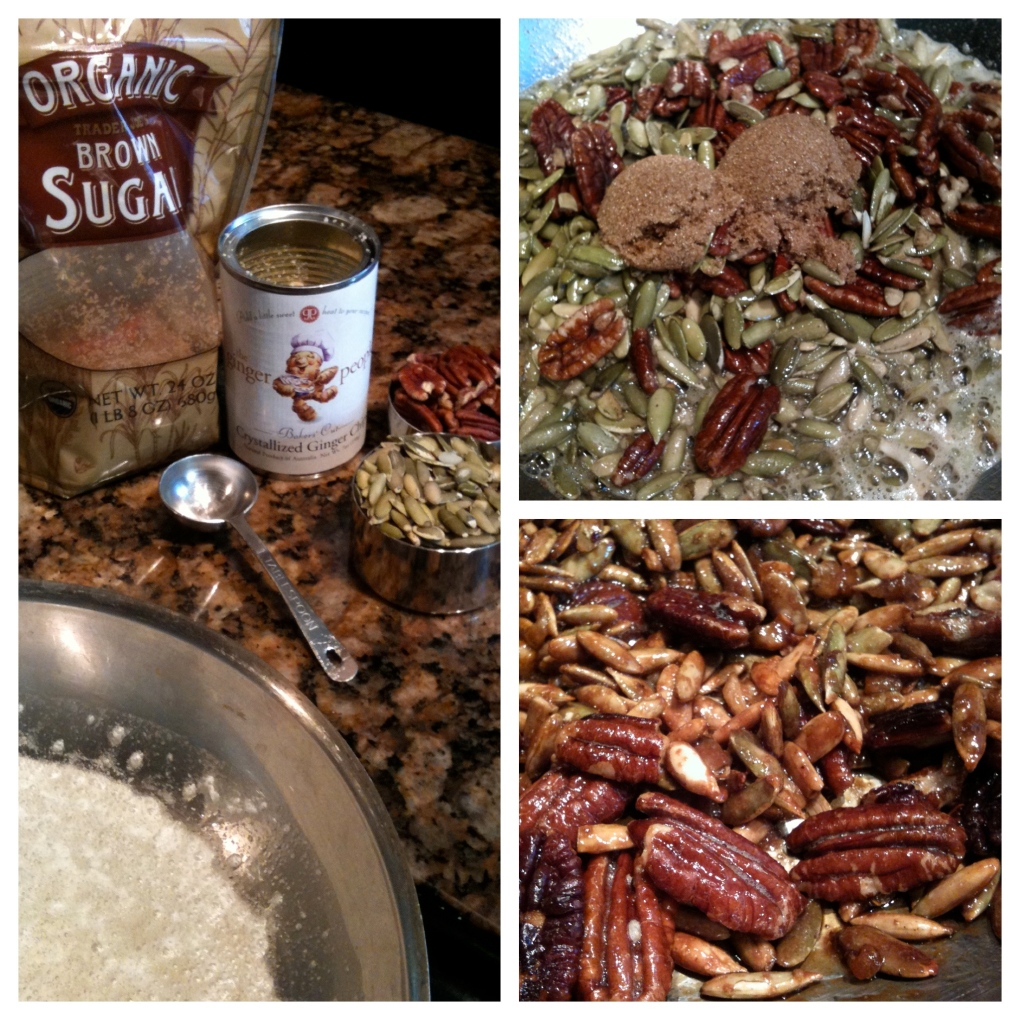
Melt the butter in a heavy-duty 12-inch nonstick skillet over medium heat. Add the pecans and pepitas and cook until the pecans brown slightly and the pepitas begin to pop, about 2 minutes. Sprinkle in the brown sugar and salt and stir until the sugar melts and the nuts are glazed, about 2 minutes. Stir in the ginger. The ginger is so good, do the leg work to find it and use it. Remove from the heat and let the mixture cool in the skillet. Don’t let this sit in your skillet for too long, it will never come out. Do ahead one day, keep in super airtight container.
For the frosting

4 oz. (1/2 cup) unsalted butter

8 oz. cream cheese, at room temperature

1/4 cup firmly packed light brown sugar

5 oz. (1-1/4 cups) confectioners’ sugar

Make the frosting

Melt the butter in a heavy-duty 1-quart saucepan over medium heat. Cook, swirling the pan occasionally until the butter turns a nutty golden-brown, about 4 minutes. Pour into a small bowl and let stand until the solids settle at the bottom of the bowl, about 5 minutes. Carefully transfer the bowl to the freezer and chill until just firm, about 18 minutes. Using a spoon, carefully scrape the butter from bowl, leaving the browned solids at the bottom; discard the solids.

 I used some of the solids at the bottom, they add that yummy flavor and cool little specs of browned butter. Using an electric mixer, beat the butter, cream cheese, and brown sugar on medium-high speed until light in color and the brown sugar has dissolved, 2 minutes. Gradually beat in the confectioners’ sugar and continue beating until fluffy, 1 to 2 minutes. Use a pastry bag or not, since the nuts go on top, no need to get too fancy with the frosting. This frosting is out of this world, it should be banned forever…..kidding. For the cake, sprinkle some of the nuts over the first layer so you get that crunch on the inside layer. If you like nuts double the topping recipe. 

Make these, share with family, friends, office peeps……you will be a star…..probably get a huge raise….  If you make this please comment and let me know your thoughts. I need to know that I’m not the only one freaking out about how good these are. K?

Thai Sweet Sticky Rice

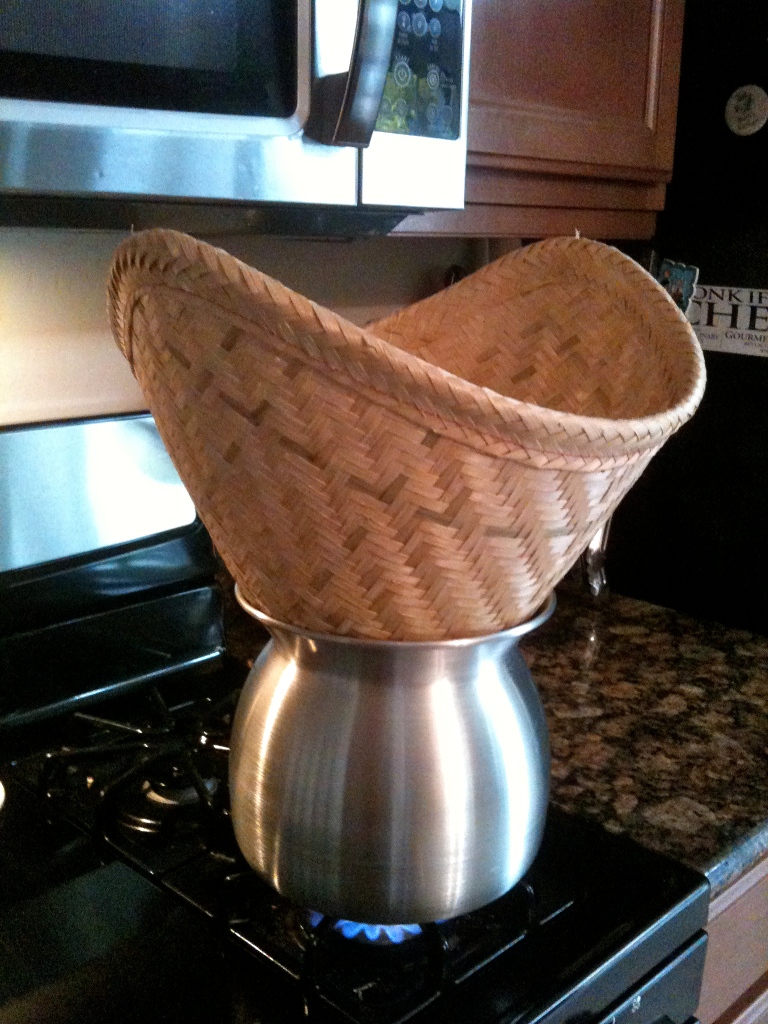
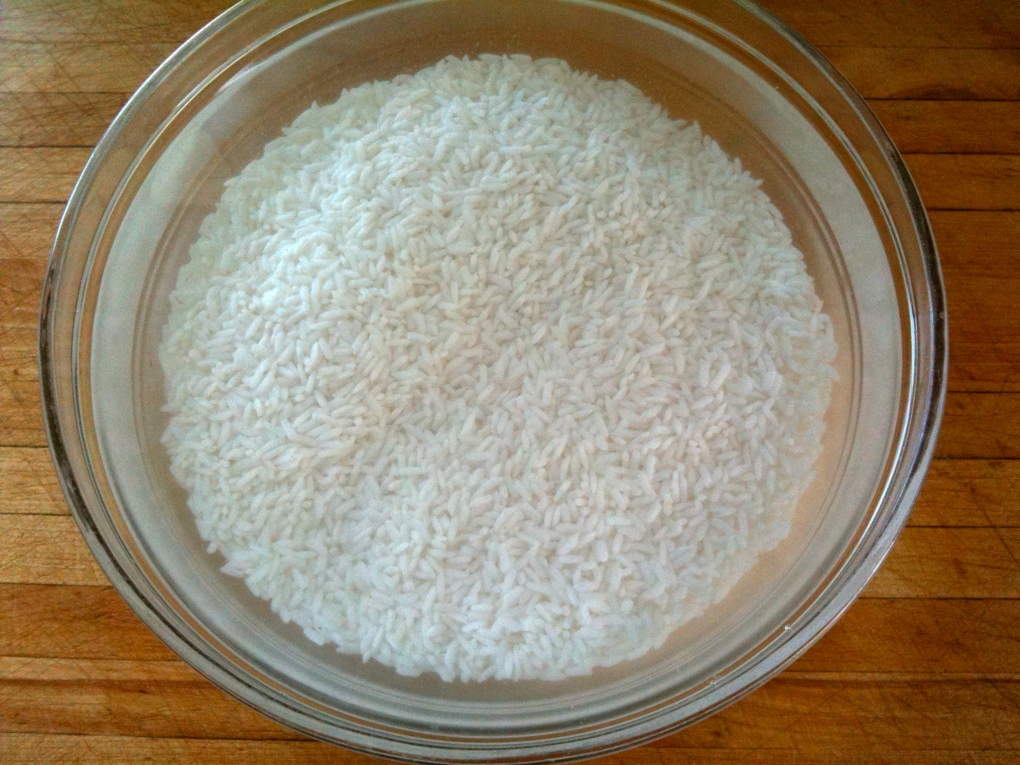
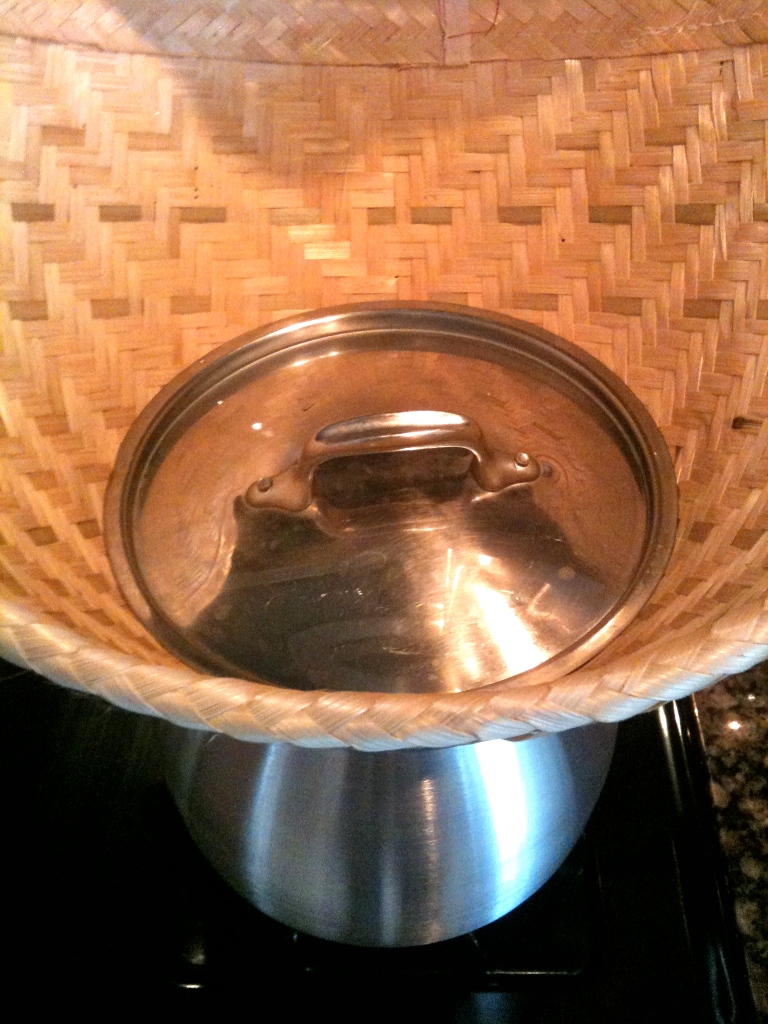
You know it –  Sweet Sticky Rice with Mango – at your favorite Thai place- warm, coconut, sweet & the sharp tang from the Mangos YUM!!!! I intended to use Mango, but I couldn’t find any ripe enough – don’t stress on the mango, try soft fruits with sweet and tart flavors – sliced peaches, kiwi fruit, pears, strawberries, raspberries – whatever you like best.The process for this rice is not quick, but the rewards are so worth it. First off the rice.You will need to find long grain Thai jasmine rice or glutinous rice – the above is the brand I found at a huge asian market in San Diego. Ask for help if you can’t find it, tell them you’re making sticky rice, you’ll get hooked up with the right stuff. Next how to cook this magical rice.This is the traditional pot and basket used for sticky rice – most Asian markets will have these and they are super cheap – the set cost me under $10. If you don’t want to get all silly like me and buy more stuff that you have to store in a kitchen that is packed out already – this will live in my garage which I’m slowly taking over with kitchen gear – poor Jim – you can use a pasta cooker/steamer basket. If you use the pasta pot – line the steamer basket with dried corn husks – the ones you use for tamales – oil the husks a bit so they don’t stick to the steamer insert. You MUST soak the rice over night, the quick boil method does not work on this rice.Rinse 2 cups of rice 3-4 times until the water starts to appear clear. Fill a bowl with cold water add rinsed rice and soak overnight, minimum of 6 hours. After the soaking you should be able to break the rice easily between your fingers.

Fill the basket with the soaked rice and rinse several times. Place the basket over the pot with boiling water. Cover the rice with a pie pan or a lid that will fit down in the basket – as close to the rice as you can.

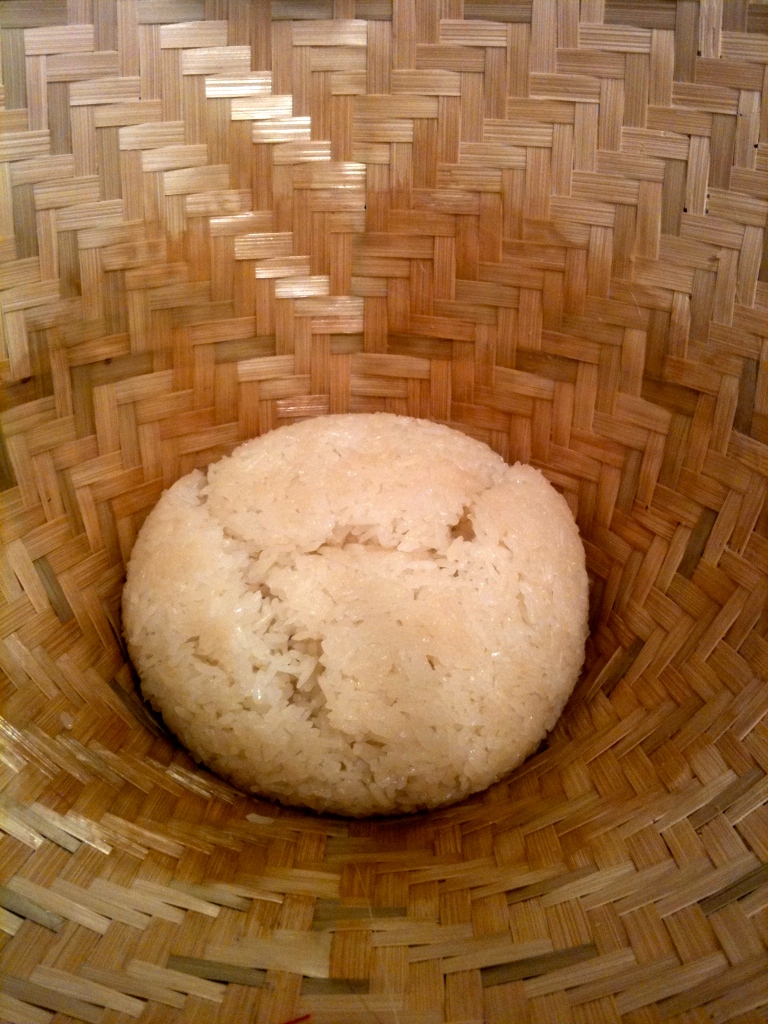
Steam for 15 minutes – the rice will form a ball as you move it around the basketflip the ball to the other side – steam 15 minutes more – flip again – steam 15 minutes more -check the rice as you flip – it should be soft – you cannot over cook this rice but it can be undercooked and thats no good. Once the rice is done it can hang over the boiling water and stay hot while you prepare the syrups.

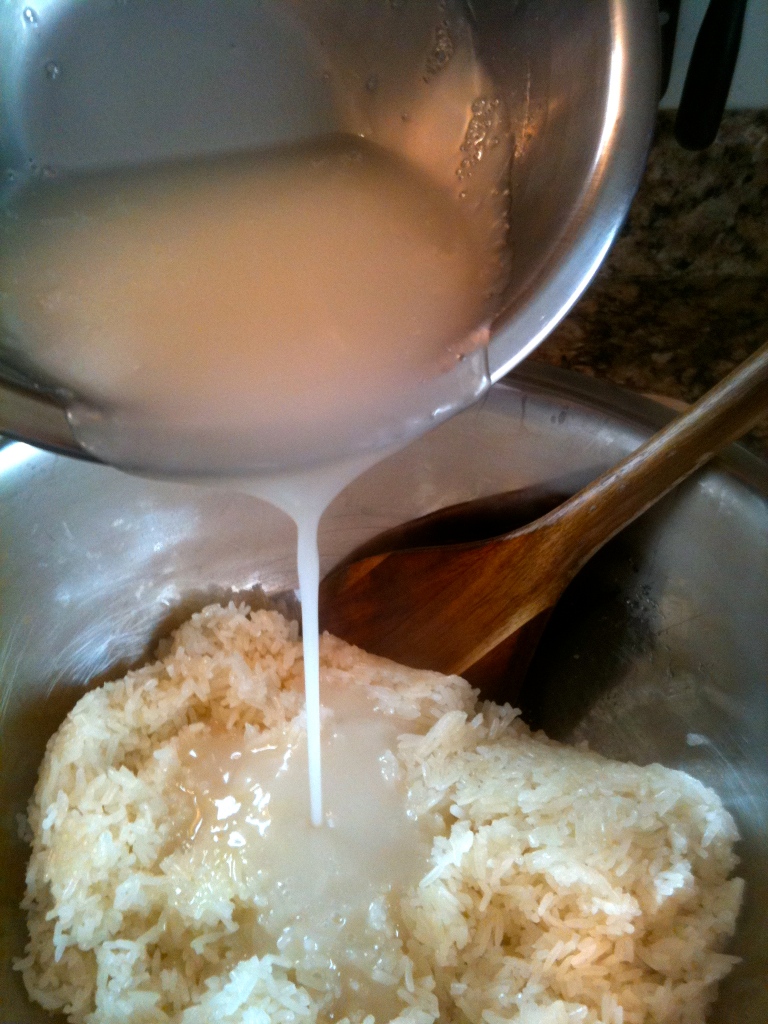
Syrup#1 – sauce syrup – in a small sauce pot combine 2 cups coconut cream/milk combo fresh or canned -1/2 cup sugar – 4 Tablespoons Palm Sugar or brown sugar – couple drops of almond or orange extract added at the end of cooking.Palm Sugar is sold in – you guessed it – Asian markets. While you’re there buying your cool new rice steamer, which is also a really neat hat, buy the palm sugar.It comes in these little hard rounds, you ‘ll need to chop them up a bit so they melt nicely. Cook the syrup on a low heat for about 10 minutes, don’t let it boil- you want to see steam but no boil – add the extract at the end of cooking. Keep warm and set aside. When the rice is done and still very hot, transfer to a mixing bowl and add the warm syrup #1Mix really well with a wooden spoon -the mixture will be soupy – cover with plastic wrap and let it sit for 10 minutes. Mix again and let sit for 10 more minutes until all the syrup is absorbed.While the rice is resting and absorbing the yummy syrup #1, start making

Syrup # 2 –  topping syrup – 1 cup coconut cream -1/4 cup sugar -1 teaspoon salt – couple of drops of almond or orange extract added at the end of cooking. Combine all ingredients except the extract, cook on low/medium heat  no boil for about 10 minutes until thickened, add extract and keep warm if serving right away. Both of the syrups can be made ahead of time – cool completely and keep in fridge for up to a week. 

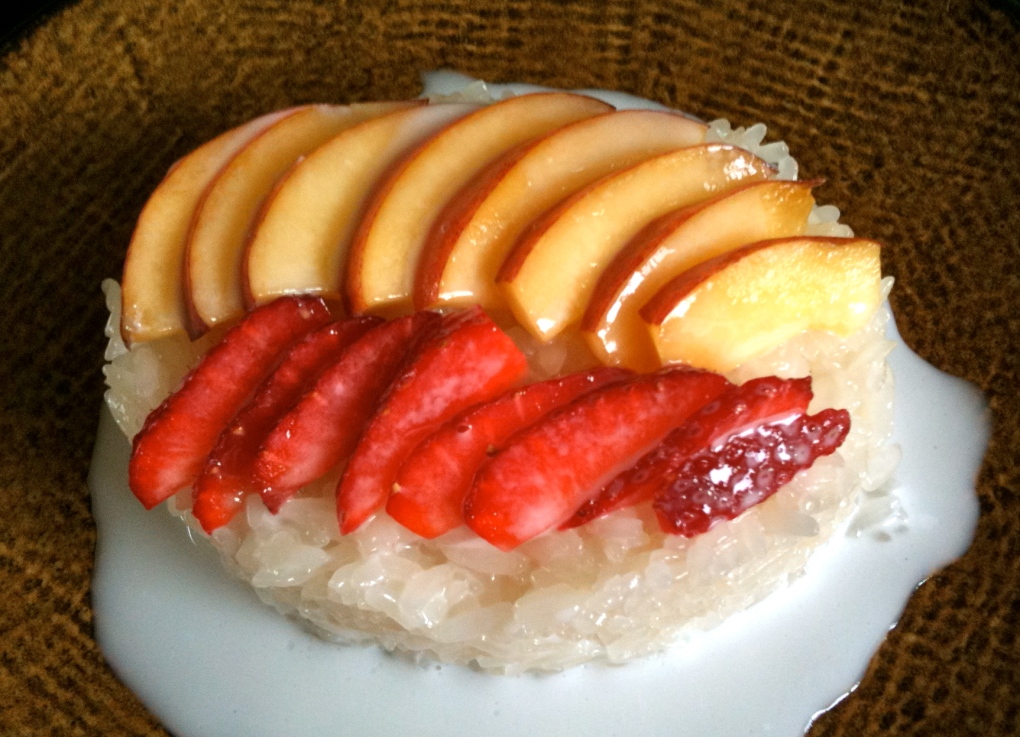
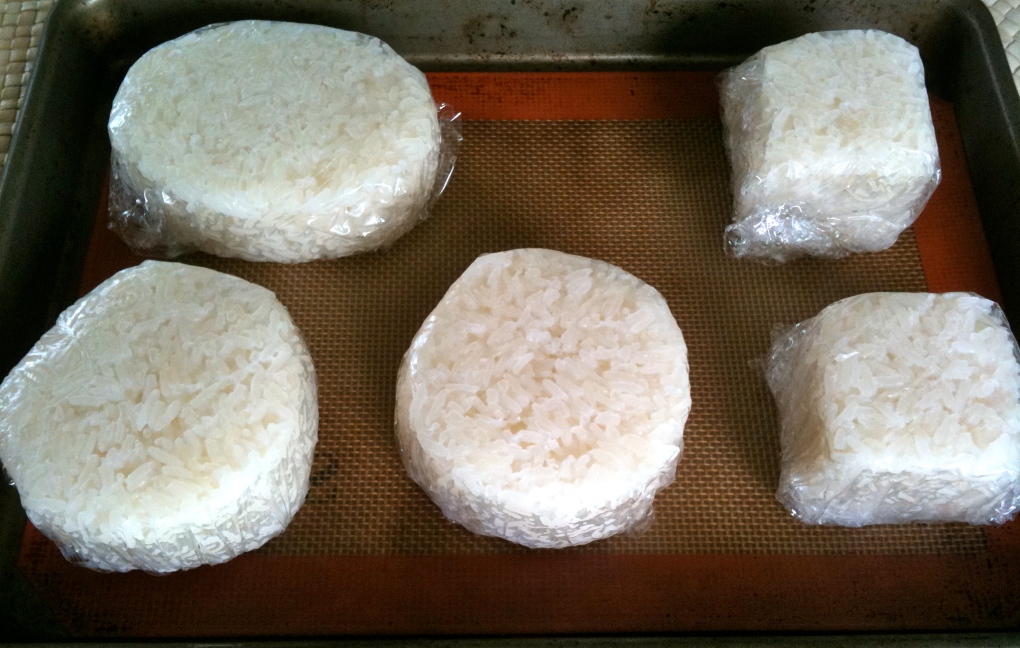
Time to shape the rice/syrup #1 combo – take a wooden spoon and shape with your hands or use a ring mold. Run your hands in cold water to prevent the rice from sticking to everything, if using a ring mold oil the inside for easy release.You can shape all the rice in single portions – try cool shapes for fun presentation wrap with plastic keep in fridge for up to a week– to reheat the individual portions heat in microwave for 30-60 seconds depending on your microwave powerTo serve, place warmed rice portion a plate – ladle a small amount of warmed syrup #2 over the top – place fruit on top or to the side – ladle a bit more syrup over the fruit. The combo is amazing, the salty sweet coconut of syrup #2 is the prefect balance for the sweet sticky coconut rice and the tart sweet fruit.

Wow this was a long post!! It seems like a lot to do, but it went really quickly and its an awesome make ahead dessert that will WOW all the Thai food fans in your life. As always I get all my Thai knowledge from Su Mei Yu, if you’d like to go further with Thai food get her books, especially her first book Cracking the Coconut, which I hear is out of print – makes no sense at all to me, its seriously like my food bible.

I will be teaching Thai cooking classes this summer at Laguna Culinary Arts, this dessert will be part of my July 9th class – check out the schedule here and sign up!

Hope you enjoy- any questions let me know- Cheers- Sarah


Chocolate Covered Grape Truffles

Grapes and chocolate are for sure favorites of mine. Together like this, they are divine.

Last summer, my super fabulous friend Debi made these for us when we stayed with her and her family in Chicago. These are so good and easy to make, you must give it a try.
You can use green or red grapes, make sure they’re really fresh, plump and crisp. Remove them from the stems. Wash and dry them well, then refrigerate for a couple of hours. 

1-1/2 pounds of grapes
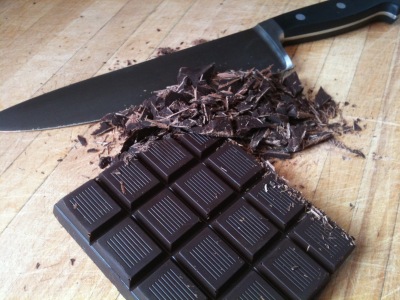
1/2 pound good dark chocolate, chopped up for melting, use a good chocolate, the taste and quality of these truffles are dependent on the quality of chocolate you start with
1/2 cup unsweetened cocoa powder

chop the chocolate for melting in a double boiler or ……
use a glass bowl over a pot of simmering water.
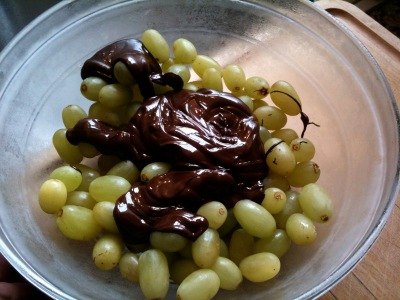
pour the melted chocolate over the cold grapes and……
mix really fast. The chocolate will start to harden right away, so don’t dilly dally. Make sure all the grapes get covered with chocolate, keep them separated so they don’t stick together. Toss them on to a baking sheet and dust them with the cocoa powder with a small strainer.
Cover baking sheet and chill for a couple of hours to set chocolate.
Enjoy ! They are so good !


Triple Berry Tart

>At the organic market, the berries were plentiful and fragrant. They jumped in my basket and came home with me.

After researching several ideas of what I wanted to do with this beautiful bounty.
I decided to try a berry tart. I’d seen this amazing crust recipe for a tart a few months back and I wanted a cheesy filling with the berries on top. So after sifting through all my cookbooks and recipes I decided to do this…

Tart Crust
1 2/3 cups flour
1/4 teaspoon salt
2 tablespoons powdered sugar
1/2 cup chilled unsalted butter, cut into pieces
2 large egg yolks
2 tablespoons cold water
3 tablespoons apricot jam

Mix flour, salt and powdered sugar in food processor. Add butter and cut in using on/off turns until mixture resembles coarse meal. 

Add egg yolks and process briefly to blend. Add enough water by tablespoonfuls until mixture forms moist clumps. Gather dough into ball; flatten into disk.
Wrap in plastic and refrigerate 30 minutes. 

Preheat oven to 350 degrees. Roll out dough on lightly floured surface to 12 inch diameter round. Transfer to 9inch diameter tart pan with removable bottom. Trim crust overhang to 1/4-inch. Fold overhang in, creating double thick sides.

 Freeze crust 15 minutes. Line crust with foil. Fill with dried beans or pie weights.

Bake until sides are set, about 20 minutes. Remove foil and beans. Bake crust until golden brown, piercing with fork if bubbles form, about 15 minutes. Transfer pan to rack. Brush crust with the apricot jam while it’s warm. Cool completely.


Now for the filling and the berries.
  • 1 cup mascarpone cheese (about 8 ounces), room temperature
  • 1/3 cup heavy whipping cream, chilled
  • 1/4 cup sugar
  • 1 teaspoon vanilla extract
  • 1 teaspoon grated lemon rind
  • 3/4 cup strawberries, sliced and or quartered
  • 1 pint raspberries
  • 1 pint blueberries
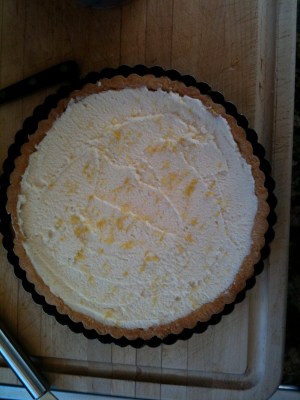
  • Mix the mascarpone, sugar, vanilla and whip cream gently with a whisk, not too much, just until its creamy and smooth. Spread into cooled crust evenly, then grate the lemon rind over the filling.

  • Arrange the berries in a beautiful pattern that looks pretty to you. Chill and serve same day for best results. Enjoy !